The "More" menu provides direct access to your Intulse Settings. This is also where you will find the Start Screen, any Integrations, Extension settings, and the Admin settings page.
☎️ VIDEO
The profile screen is where you will manage the basic information related to your extension. None of us appreciate the constant ping of unnecessary notifications, but we also don’t want to miss a notification about something important. This is the screen that will give you control over the notifications you receive on your various devices.
You will see your extension number here. It is only displayed, not changed, on this screen. This is the extension you can give to external callers so they can reach you directly.
Begin by making sure your name and work email are entered correctly. This is the email you will use to authenticate and access your app. It is also how we, at Intulse, will communicate with you. This is NOT necessarily the email where your voicemails are delivered. That email is entered in voicemail settings.
The mobile number you enter here is the number that will be used when you select “Send to Mobile” while on an active call. This is also the number where you will receive any of the notifications that you select for your extension.
Use the Personal Notes field to write information you want to reference in the future, such as important phone numbers like your direct number.

Let's take a look at the Notification Settings on this screen because they will control the notifications you receive for incoming calls, faxes, and chat/SMS messages.
Check the box to show notifications:
Check the box to show notifications:
Check the box to show notifications:
You can Mute chat notifications here. If you use this option, ALL notifications for ALL incoming direct messages, channels, and SMS chats will be muted. Individual chats can be muted within each conversation thread.
Save your settings before leaving this screen.
The Settings screen allows you to manage the settings for both Audio and Video calls. You will also be able to view your Device Permissions from this screen.
On this screen you can select the audio sources and ringtones pertaining to the Virtual Phone. You can also access these settings from the context menu on the Phone screen.
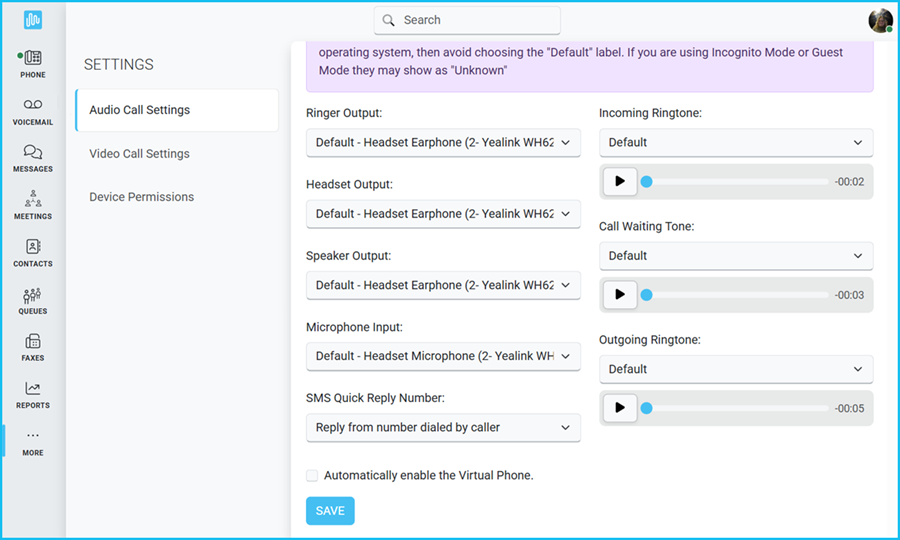
Selecting any audio device with the "Default" label means that the app will use whatever device your computer's operating system uses. If you change audio devices in your operating system, they will also be updated in your Intulse app. If you wish to select your phone's devices independently of your operating system, then avoid choosing the "Default" label. If you are using Incognito Mode or Guest Mode they may show as "Unknown."
Make sure you have selected the appropriate devices so you can hear the incoming caller and they can hear you.
You can also select the sounds you hear when receiving or making a call. Default options have been set for you, or you can listen to and select other sounds using the drop-down menu.
Note: The Call Waiting Tone only applies if you have Call Waiting turned on for your extension.
If you Automatically enable the Virtual Phone, then the Virtual Phone will automatically be enabled whenever you load the app.
If using the app on an iPhone, there is also an option to Show call history in the iPhone history. This is enabled by default so you will need to uncheck this box if you do NOT want calls to the Intulse app to display on your iPhone Recents call list.
On a mobile device, you will also see a Virtual Phone Protocol setting. This controls how the app connects to the phone's server. You can select TCP or UDP.
Be sure to Save these settings when you're finished.
This screen allows you to choose the ringtone settings for Video calls within Intulse Meetings.
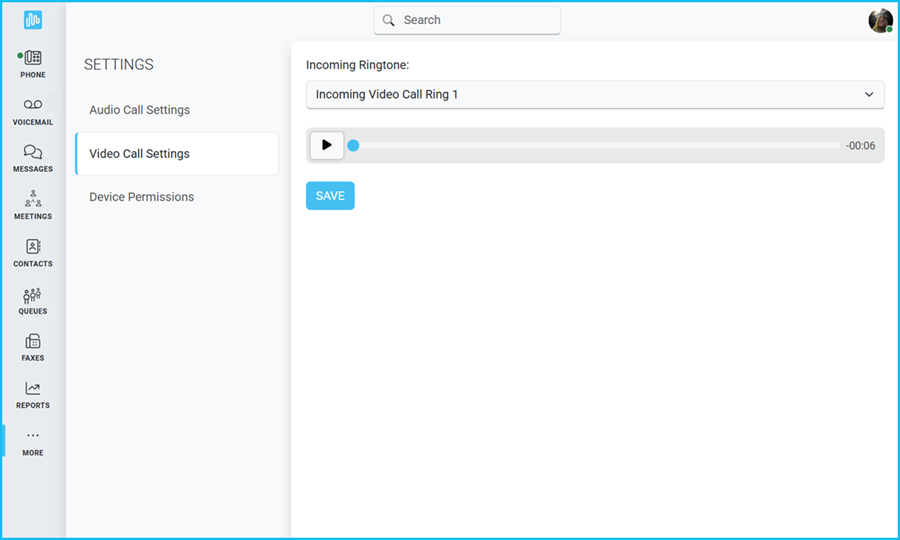
The Incoming Ringtone determines the audio that is played when receiving a video call.
The Device Permissions screen shows whether permission is being granted or denied for both your microphone and desktop notifications.
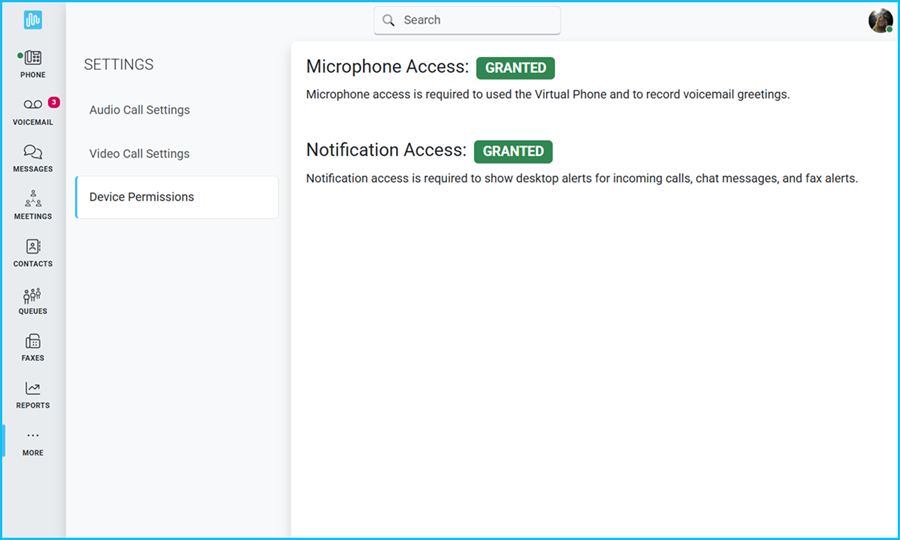
Microphone access is required to use the Virtual Phone and record voicemail greetings. Notification access is required to show desktop alerts for incoming calls, chat messages, and fax alerts.
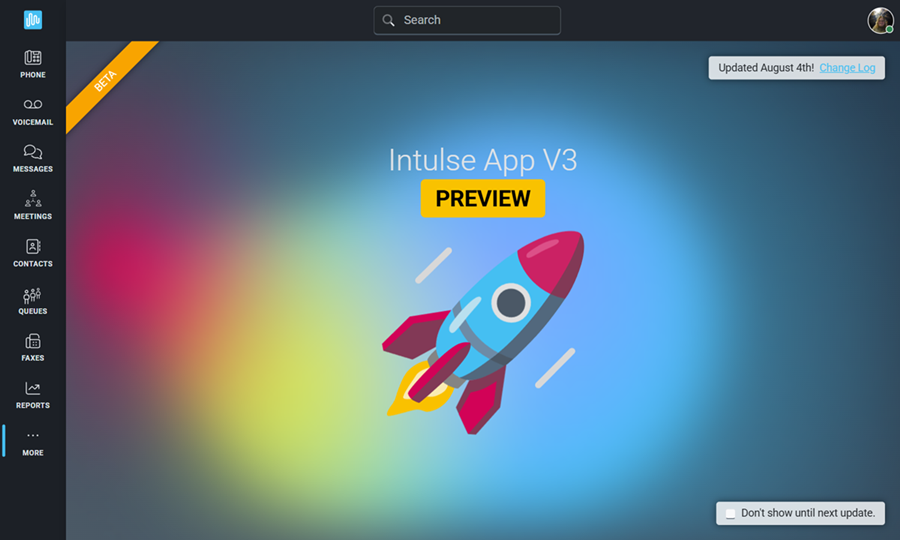
This screen changes occasionally with updates on new features and product enhancements, as well as tips and tricks for using the Intulse system so check back from time to time.
The Integrations screen will include your organization's API Key along with any integrations that have been set up for your organization.
API Keys are used by programmers or 3rd party applications to interact with the Intulse system. If you're looking to build an integration with Intulse you can review our API documentation for more information.
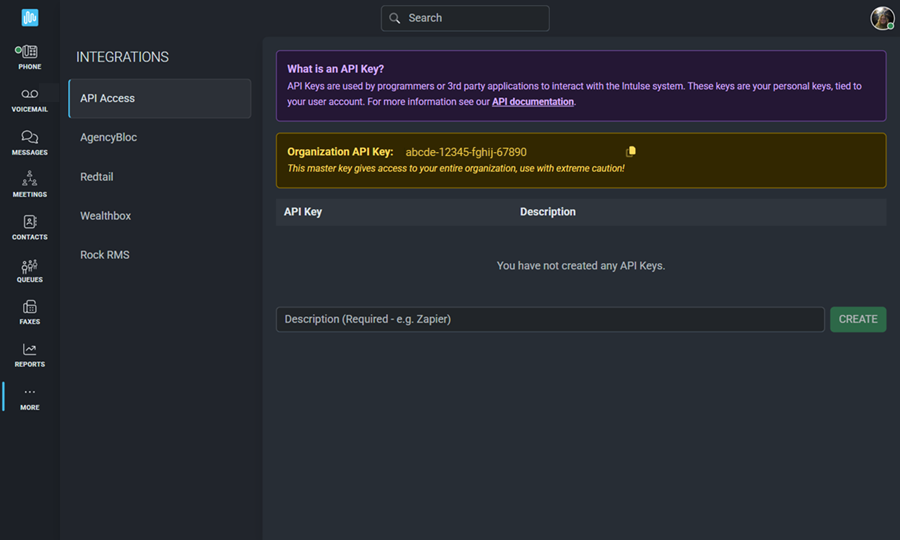
Admins of the Intulse App can see the Organization API Key. This master key gives access to your entire organization and is not easily revoked so only use it when absolutely necesary or specifically instructed to do so by the Intulse support team.
Every user has the ability to create API keys which they can use when connecting other applications to the Intulse system or building one themselves.
To create a new API Key, enter a description (something that will help you identify how this key is going to be used) and click the Create button.
These keys can easily be revoked at any time by clicking the Delete button next to the key you would like to revoke.
Click HERE for a complete list of all Intulse integrations. Find your the integration you need instructions for on this list and follow the link to the support article.
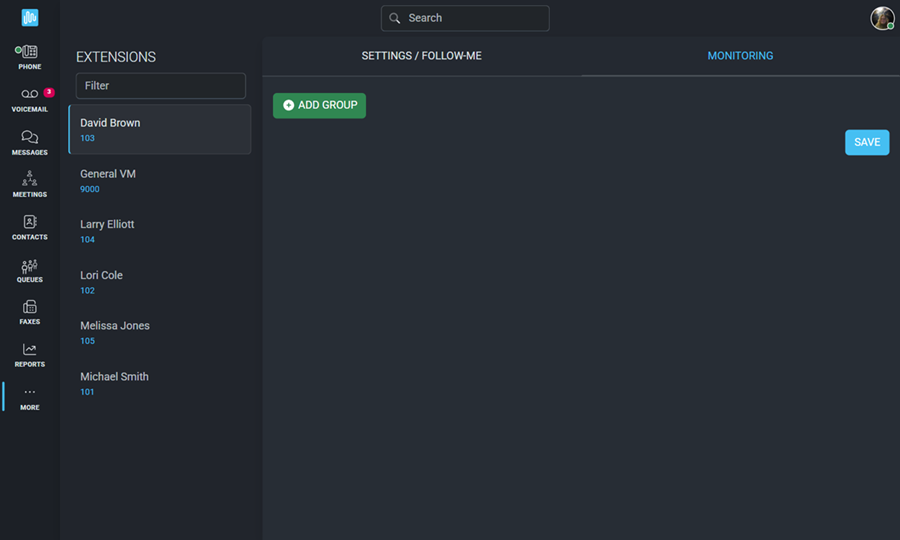
You can edit the settings for any extension to which you have access. Set the extension to DND, Call Waiting, Call Forward, as well as adjust Follow Me and Smart Monitoring.
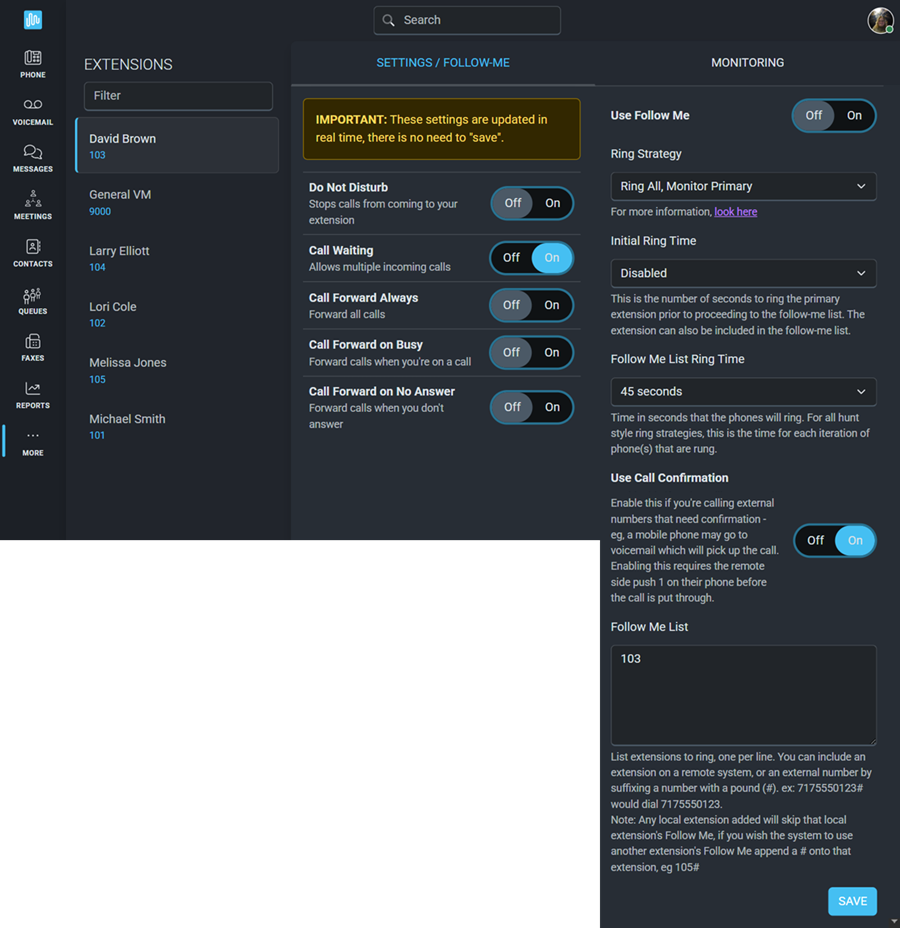
You can also set up Follow Me and Monitoring for each extension.
The Admin section of the Intulse App enables system administrators to control what users can see and access. Permissions can be granted to everyone, restricted entirely, or assigned to specific users or groups based on security roles.
This entire Admin section is visible only to users who have been assigned the Admin role.
Select a setting from the list below to learn more.
Security Roles
Screen Access
Extension Settings Access
Extension Monitoring Access
Call Flow Control Access
Voicemail Access
Call Recording Access
Queue Access
Audio Meeting Access
Messaging Number Access
Fax Number Access