Intulse Logo

6A. REVIEW & SET UP PHONE SYSTEM COMPONENTS

We have reached the step in the process where we begin setting up the path that incoming calls will follow. This requires some time and thought, but this is the basic skeleton for your phone system. This portion of the setup process will be covered in your welcome call. Feel free to begin setting up as much of it as you are comfortable with, but once we connect with you during that call, we will be able to assist in this portion of the process.

Scroll down for complete video walkthroughs of this step.


6.1 Create Extensions

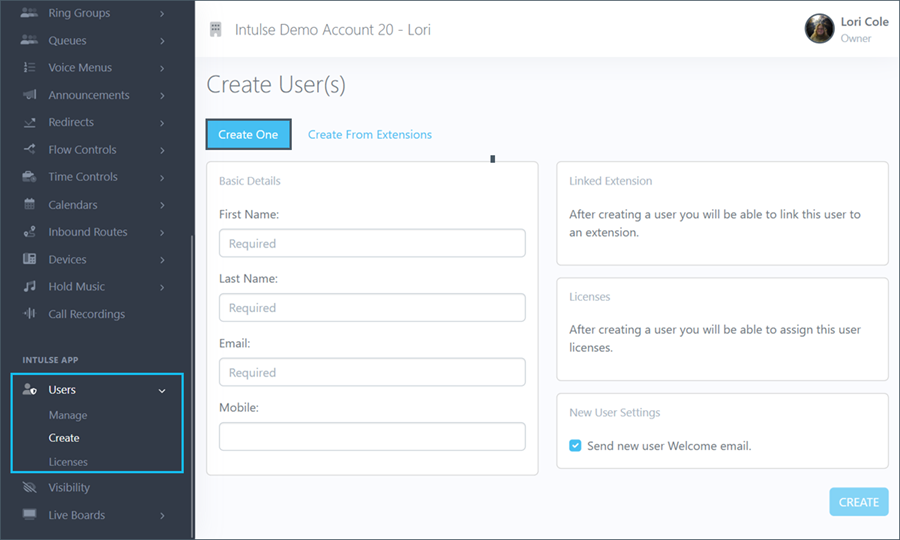
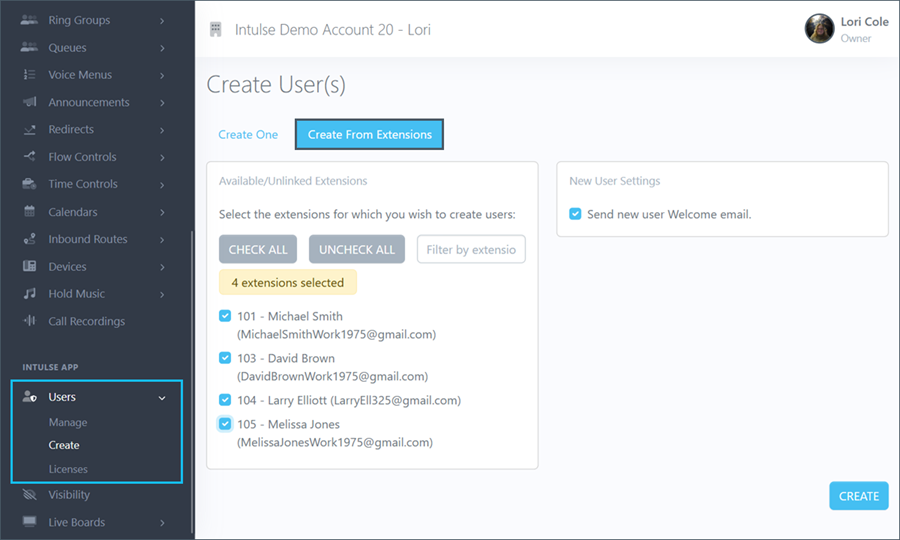
Your extensions may have already been added for you based on the information you provided at signup, depending on how quickly you've gotten to this step in the process. Even if we have completed this step for you, it's great to know how to do this in case you want to add more extensions in the future. If you choose to complete this step yourself, please make sure you use the same extension numbers you supplied in the signup process.

Remember that you are billed for each extension on your system. So, if you create more extensions than you specified during the signup process, it will affect your bill.

To learn more about CREATING EXTENSIONS, click here


6.2 Populate Calendars with Operating Hours

Each phone system comes equipped with three standard calendars: Holidays, Open Hours, and Special Closures. You can also create other calendars specific to your organization. The purpose of these calendars is to inform the phone system whether an organization is open or closed. Once the calendars have been populated with events specific to an organization, they can be linked to time controls, which will direct incoming calls accordingly. (You can learn more about these options on the next page.)

To learn more about POPULATING CALENDARS, click here


6.3 Create System Recordings

There are several different system features that will require specific recordings, such as ring groups, voice menus, and announcements, including any industry specific disclosures. Some general system recordings have been provided for you, depending on the starter template you selected during signup, but you will want to update those with information specific to your organization. You can easily upload existing recordings, or create new ones, in the Account Center.

To learn more about SYSTEM RECORDINGS, click here


6.4 Add Extensions to Ring Groups

A ring group allows any incoming calls to be directed to a specific team of people, such as a sales team, support team, billing team, etc. Calls can be sent to extensions or phone numbers, including mobile devices, when a single extension is dialed or a selection is made in a voice menu. Ring groups can be set up to call members of the group one at a time, or all at once.

To learn more about creating RING GROUPS, click here


6.5 Set Up Inbound Routes

An inbound route is used to tell the phone system where to direct incoming calls based on the caller's phone number or the number that has been dialed. Inbound routes can be set up based on the number the call is coming FROM or the number the call is made TO. An inbound route should also be set up for ANY number calling in to ANY number on your system. This means that any call coming into your organization which doesn't fit one of the FROM patterns or one of the TO patterns, will follow this generic route.

To learn more about setting up INBOUND ROUTES, click here


There are several additional features available to you, which will be covered on the next page.
IF you wish to learn about those features, scroll down and click Next to move on to step 6B.
If you do NOT wish to learn about those features, COMPLETE STEPS 6.6 and 6.7 now.

6.6 Test Your Phone System

Once you apply changes and update your system, we recommend calling the temporary number from your onboarding ticket to test your call flow. It is a good idea to call both during and after business hours to make sure everything is functioning as expected.

6.7 Configure Your Devices

  • If you're purchasing devices from Intulse, then your devices will be created for you and should arrive fully configured and ready to use. You may still want to customize the buttons on your phones; for more information on how to do that, keep reading.
  • If you're bringing your own supported devices, please read our Provisioning with Intulse article and make certain you have purchased the type of provisioning that is appropriate for your organization. When you're confident you have, click the button below for instructions on how to add your devices to your account.

To learn more about CONFIGURING YOUR DEVICES, click here


  • You can customize many of the settings of your supported phones, including changing the configurable buttons, in the Account Center by going to DevicesManage. For more information about configuring your supported devices see the Managing Devices and Device Templates articles on this site.

Watch this video for a walkthrough of the setup for a basic call flow template, or scroll down to continue the onboarding process.