Intulse Logo

YEALINK DESK PHONE PROVISIONING GUIDE


Obtaining the Phone's IP Address

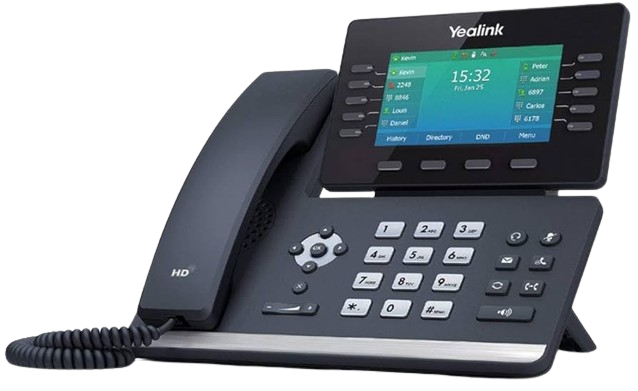
Note: The display may look different depending on the model you are using; however, the steps should be the same.

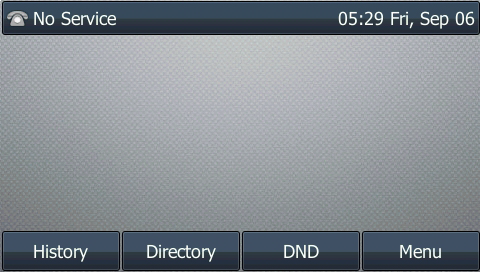
  1. Press the Menu key.

  2. Use the phone's directional pad to select Status.

  3. Make note of the IPv4 address.

Accessing the Phone's Web Interface

  1. Open a web browser on a computer that's connected to the same network as the phone.
  2. Enter the phone's IP address.
  3. Log in to the phone's web interface as an admin.

    Note: The default admin username and password is admin / admin. If you do not know your username or password, contact the vendor of the phone. If your phone is already provisioned to Intulse, our support team can provide you with that password.

Reset Phone to Factory Defaults

  1. Navigate to Settings > Upgrade.
  2. Click Reset to Factory setting.
  3. Wait for the phone to reboot.

Configuring Provisioning Server

  1. Navigate to Security > Trusted Certificates.
  2. Set Only Accept Trusted Certificates to Disabled.
  3. Click Confirm.
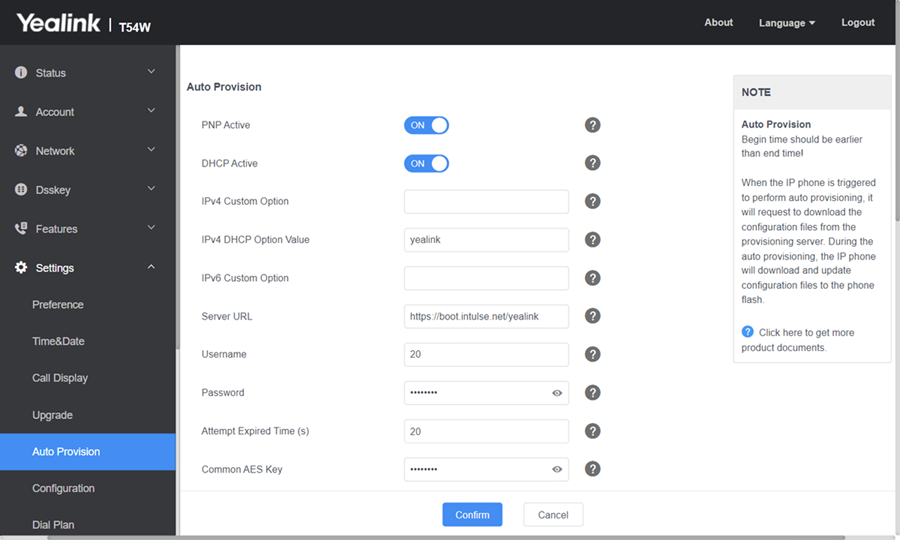
  4. Navigate to the Settings > Auto Provision.
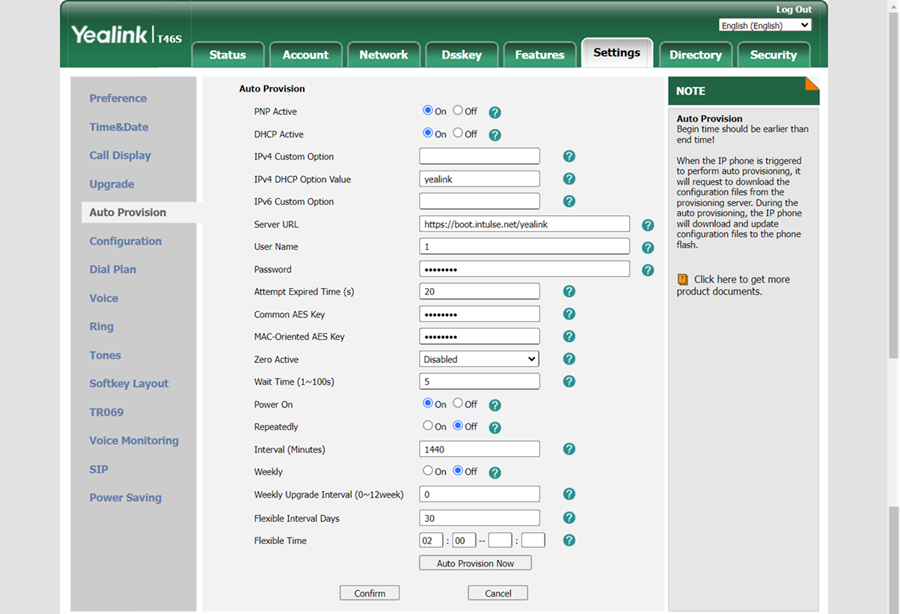
  5. In the Server URL field, enter the Intulse Yealink Provisioning Server address: https://boot.intulse.net/yealink
  6. Enter your Client ID in the username field. (You will need to contact Intulse support at Support@intulse.com for this information.)
  7. Enter your Client Password in the password field. (You will need to contact Intulse support at Support@intulse.com for this information.)
  8. Click Confirm at the bottom of the page.
  9. Click Autoprovision Now.
  10. Allow several minutes for the phone to reboot and connect to the Intulse servers. When rebooting is complete, the phone should connect and display your extension name and number.