Use the guide below to setup RockRMS & Azure.
There are many fantastic guides available for RockRMS and Azure hosting. The purpose of this guide is to provide clear instructions regarding a very specific setup. Setup is as follows.
Setting up RockRMS version 16 on the Azure platform that uses an Azure SQL database, and an Azure VM using Windows Server 2022 & IIS as the webserver front end.
This guide is written for RockRMS version 16.
The screenshots in this guide are valid as of March 2024. As things often change rapidly in Azure, your screens may be slightly different than the ones below.
In the Azure portal, Create the Virtual Machine (VM). The size of the VM depends on your specific needs. At the time of this writing, server recommendations are as follows for the web server VM:
| Small installs (1 – 1,000 records) | Medium installs (1,000 – 5,000 records) | Large installs (5,000 – 15,000 records) |
|---|---|---|
| CPU: 2 GHz Quad core or higher | CPU: 2 GHz Dual core or higher | CPU: 2.5 GHz Quad core or higher |
| Memory: 2 GB | Memory: 8 GB | Memory: 16 GB |
| Storage: depends | Storage: depends | Storage: depends |
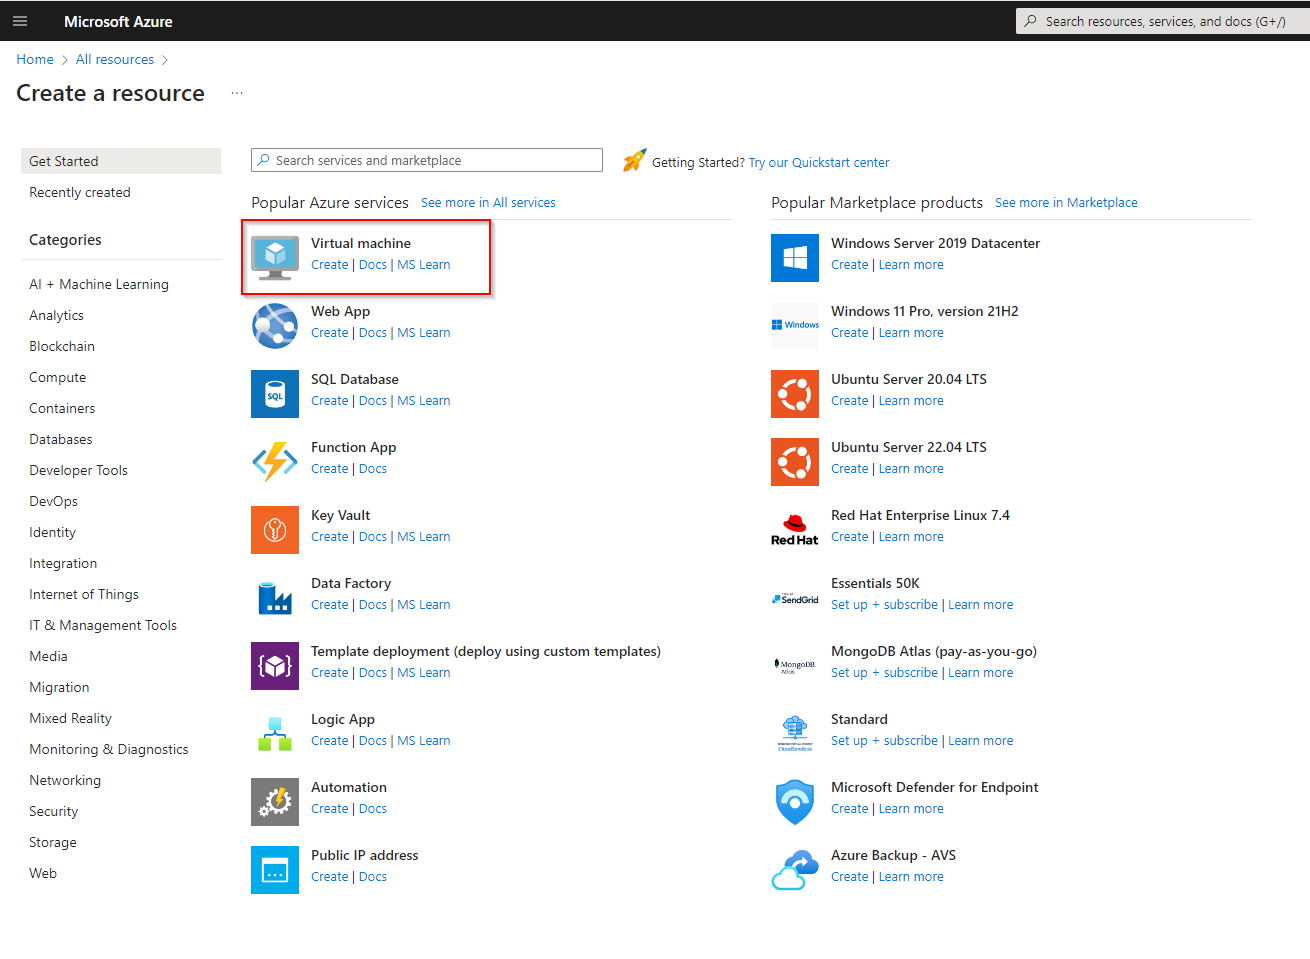
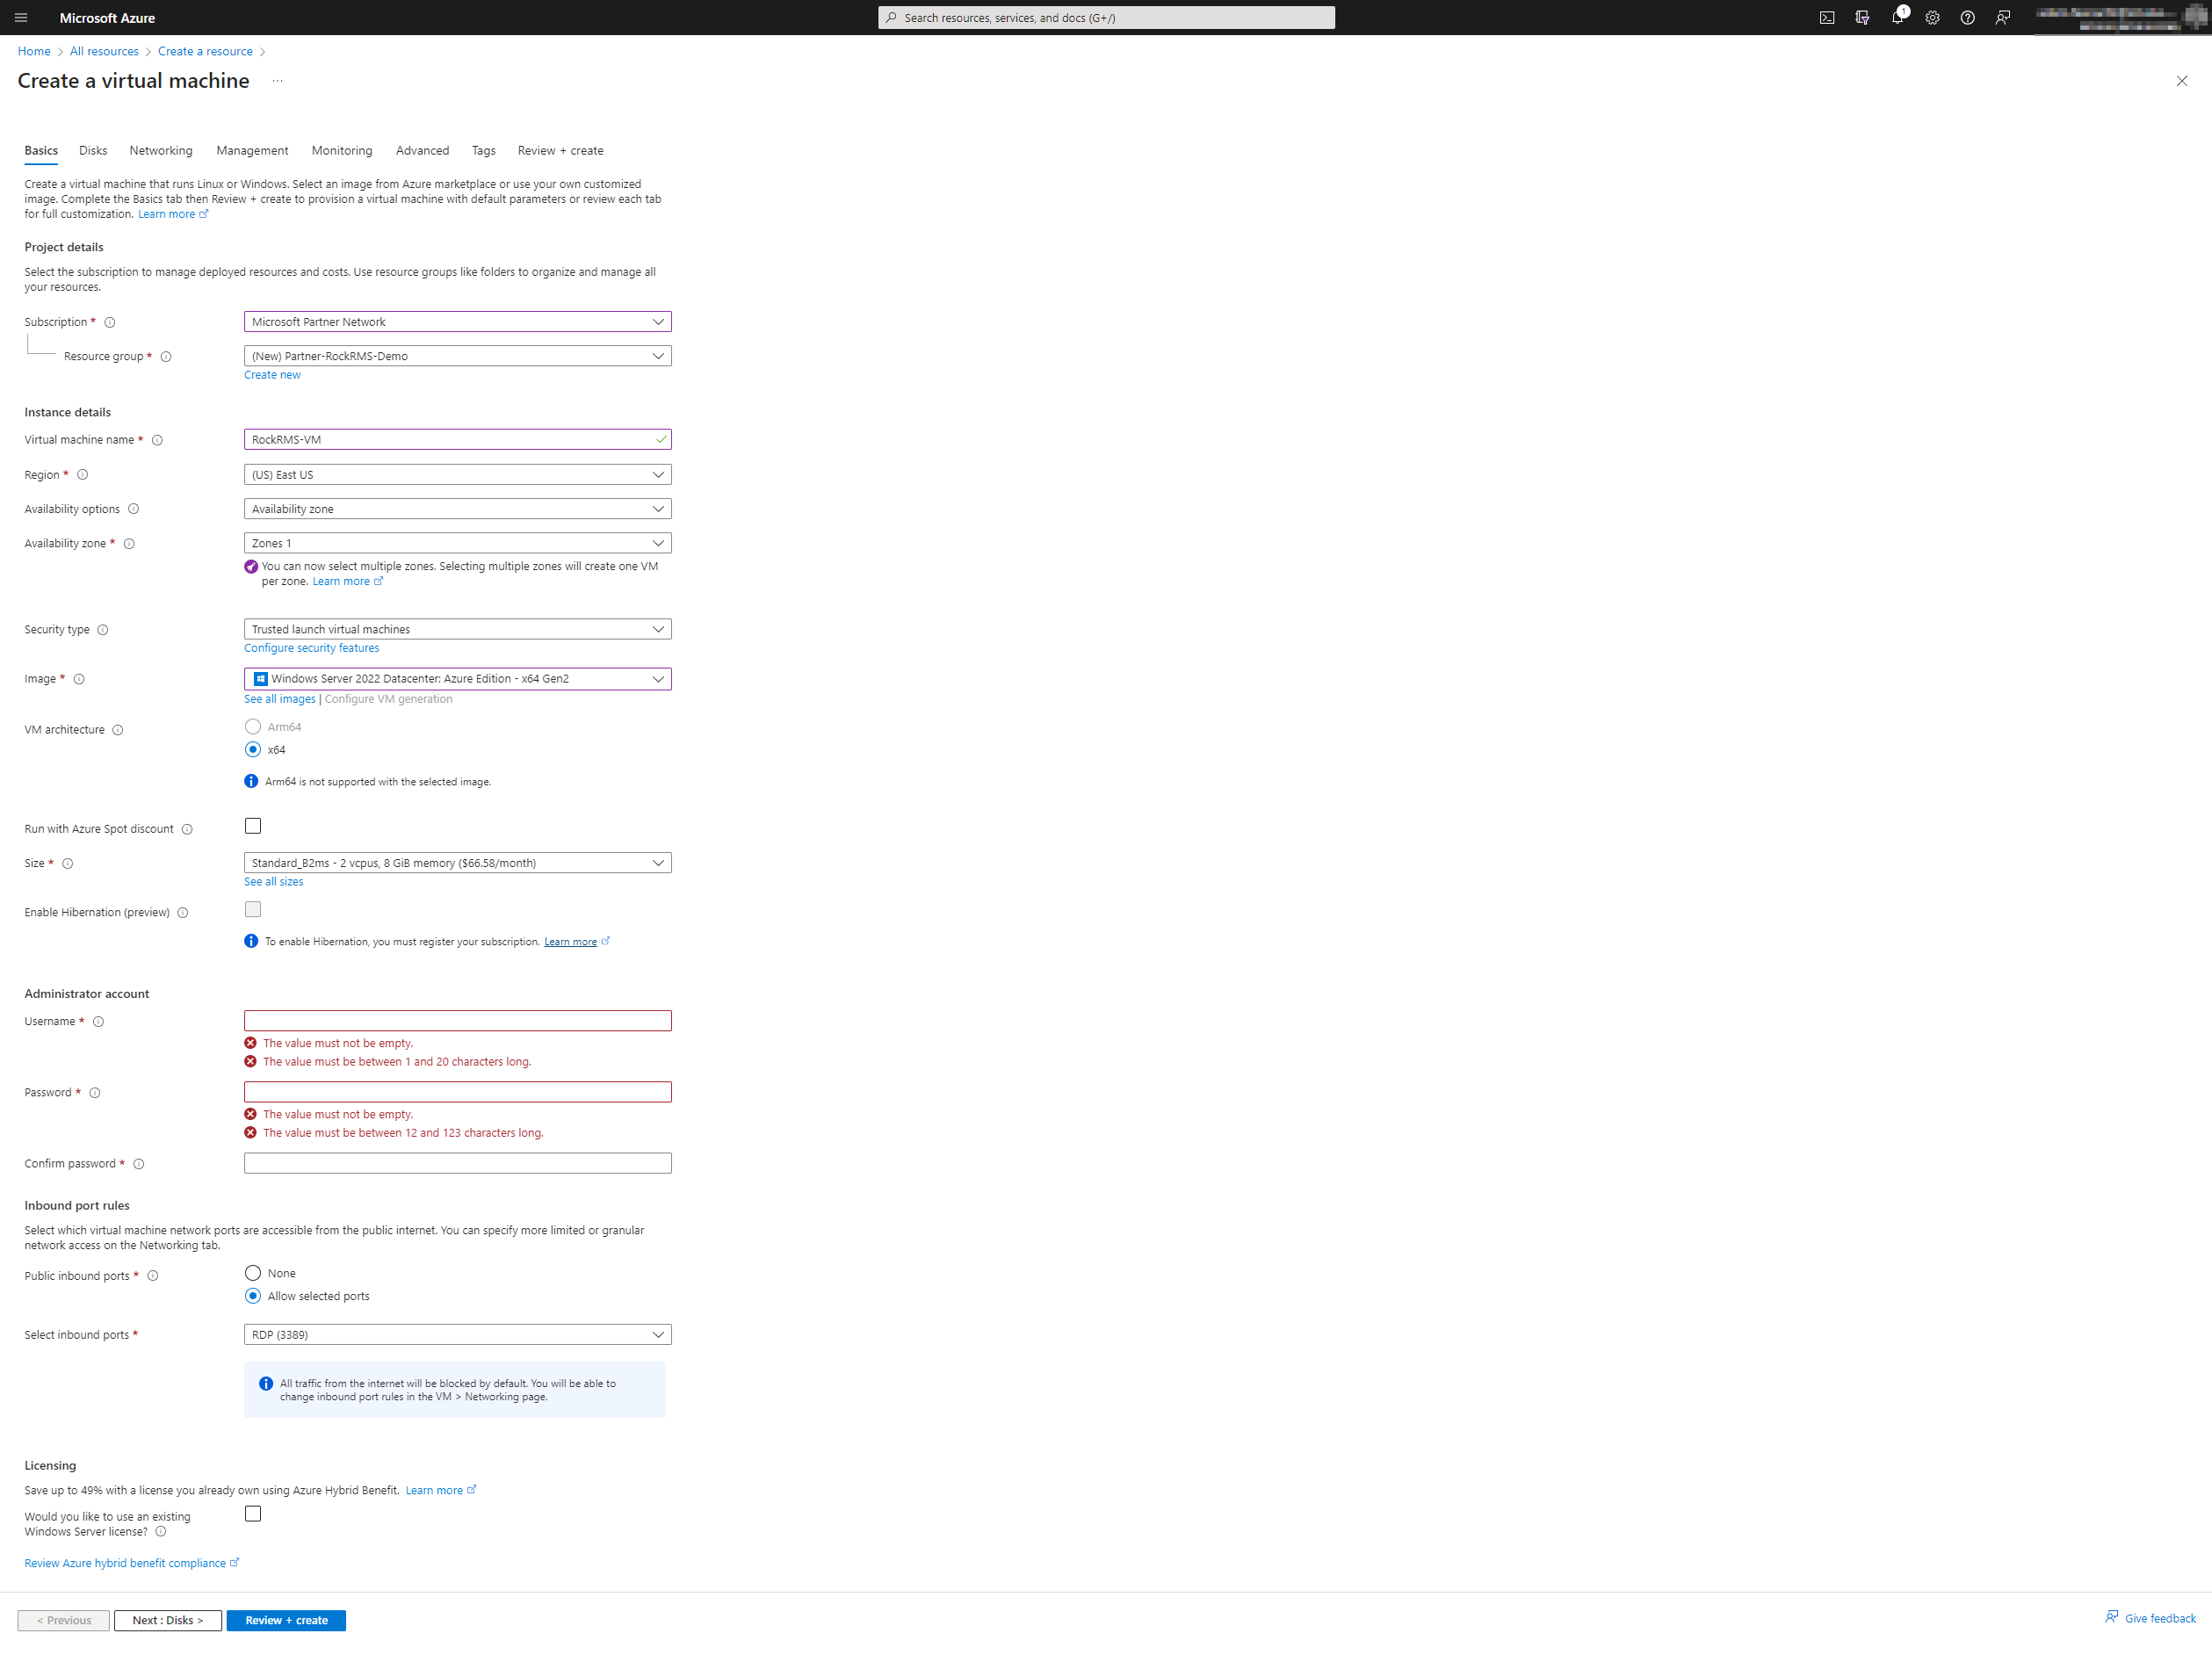
When working with Azure, it is very important to group your items into Resource Groups. Resource Groups are a great way to logically group various items within Azure. For this example, a new Resource Group called RockRMS_Demo is created.
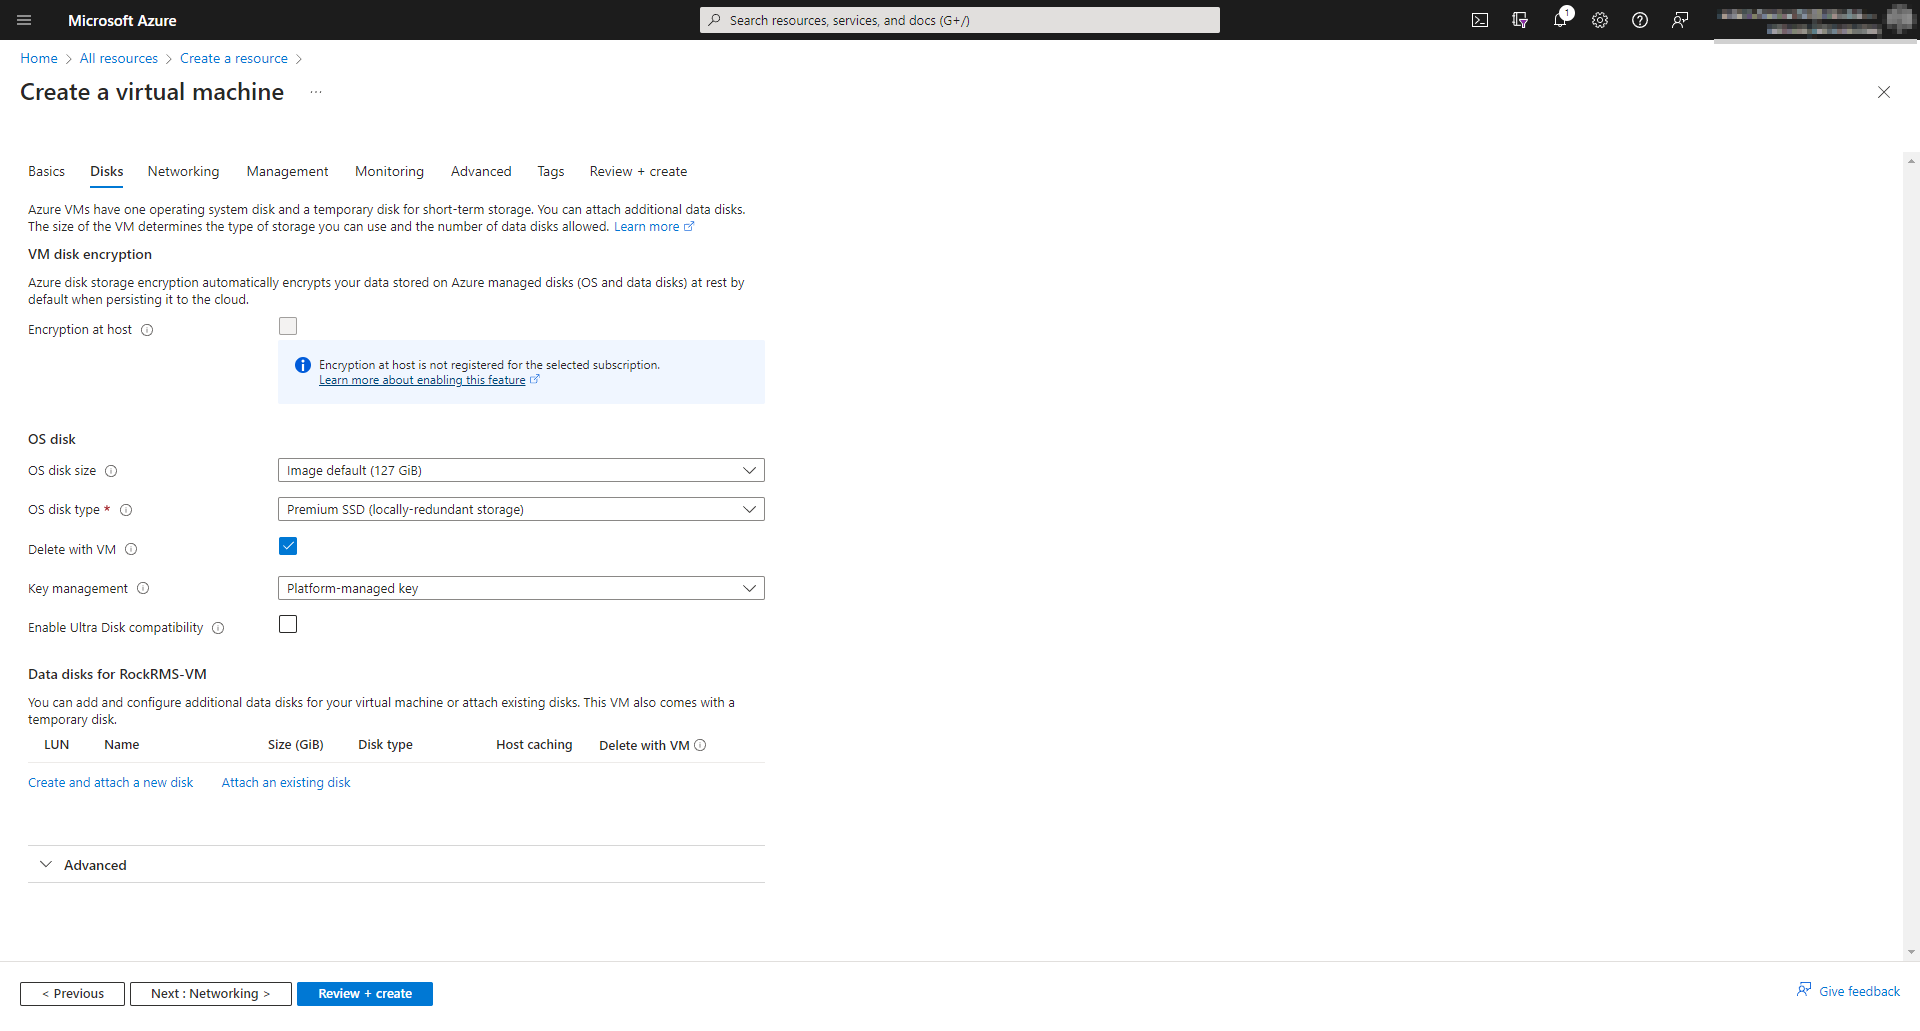
Choose the type and size of your main disk. SSD of any type is always recommended over HDD. There are varying types of SSDs that you can choose from, including zone-redundant storage. Choose the type with the risk tolerance that best fits your ministry.
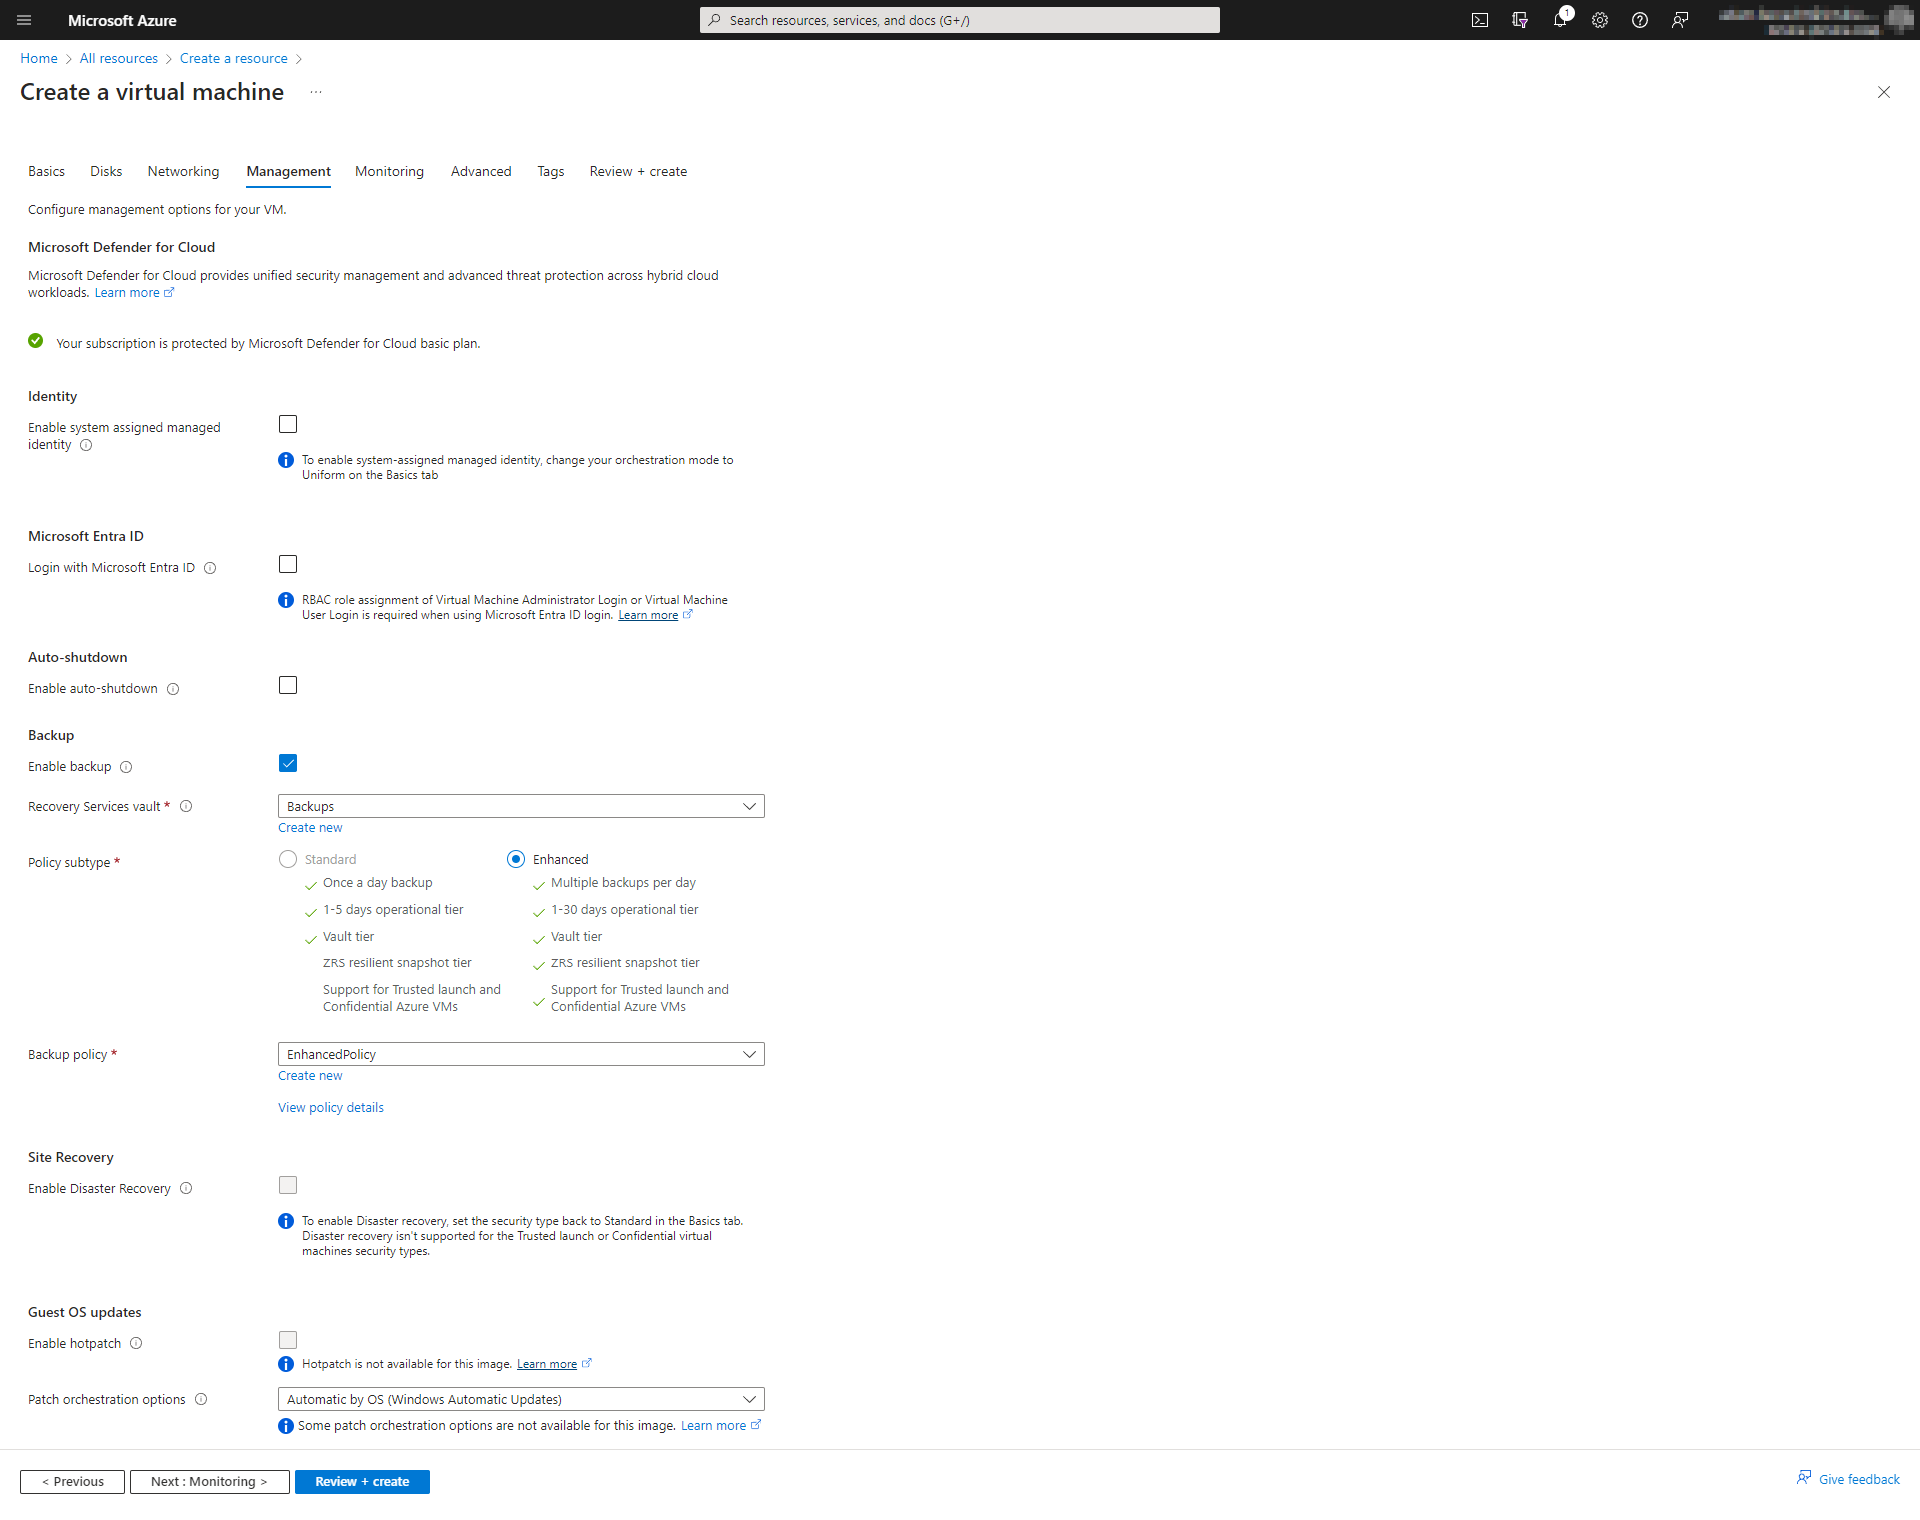
Set any management options you want for the VM.
This is where you can also enable backups for the VM. (Because you are backing up your VMs, right?)
The next three screens in the Create VM wizard are for Monitoring, Advanced Settings, and Tags. Choose any options that you would like for this specific VM.
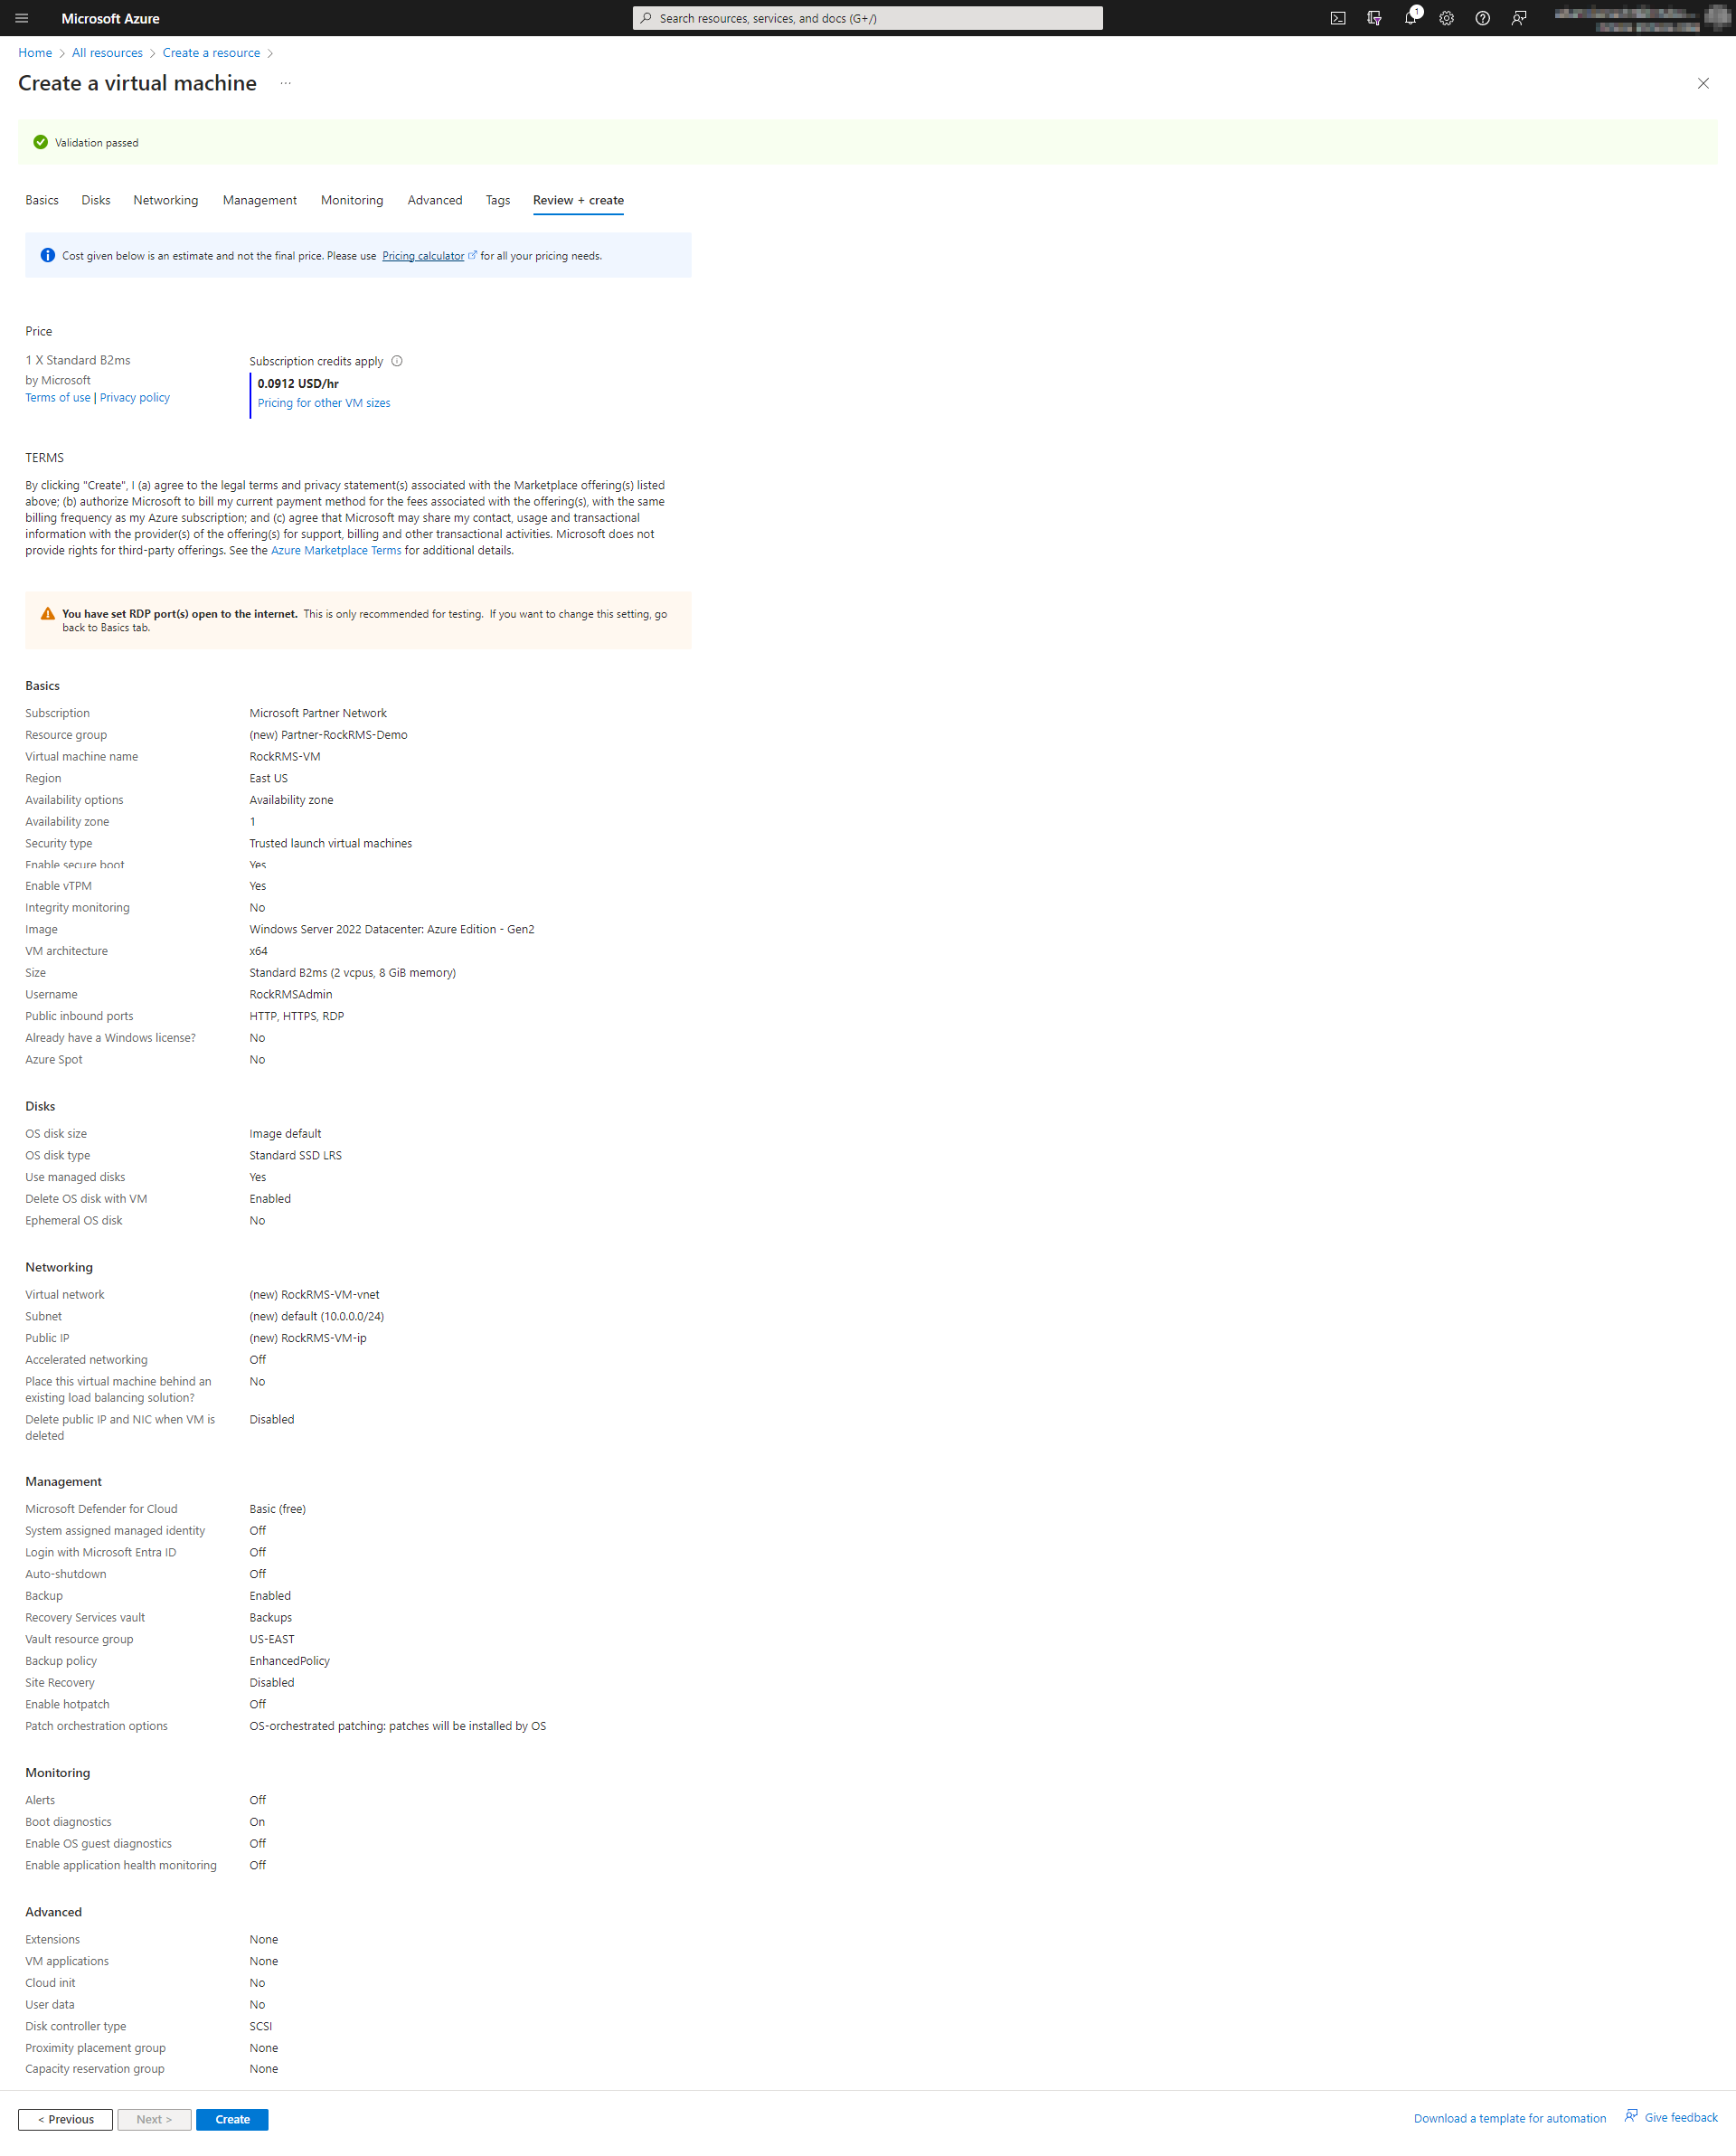
The last screen is where you can review all the previous settings and then click Create. The deployment process will begin. When completed, You should see a message stating "Your deployment is complete." Click Go to Resource.
Immediately after creating the VM, the VM should have RDP (port 3389) secured to prevent unauthorized access.
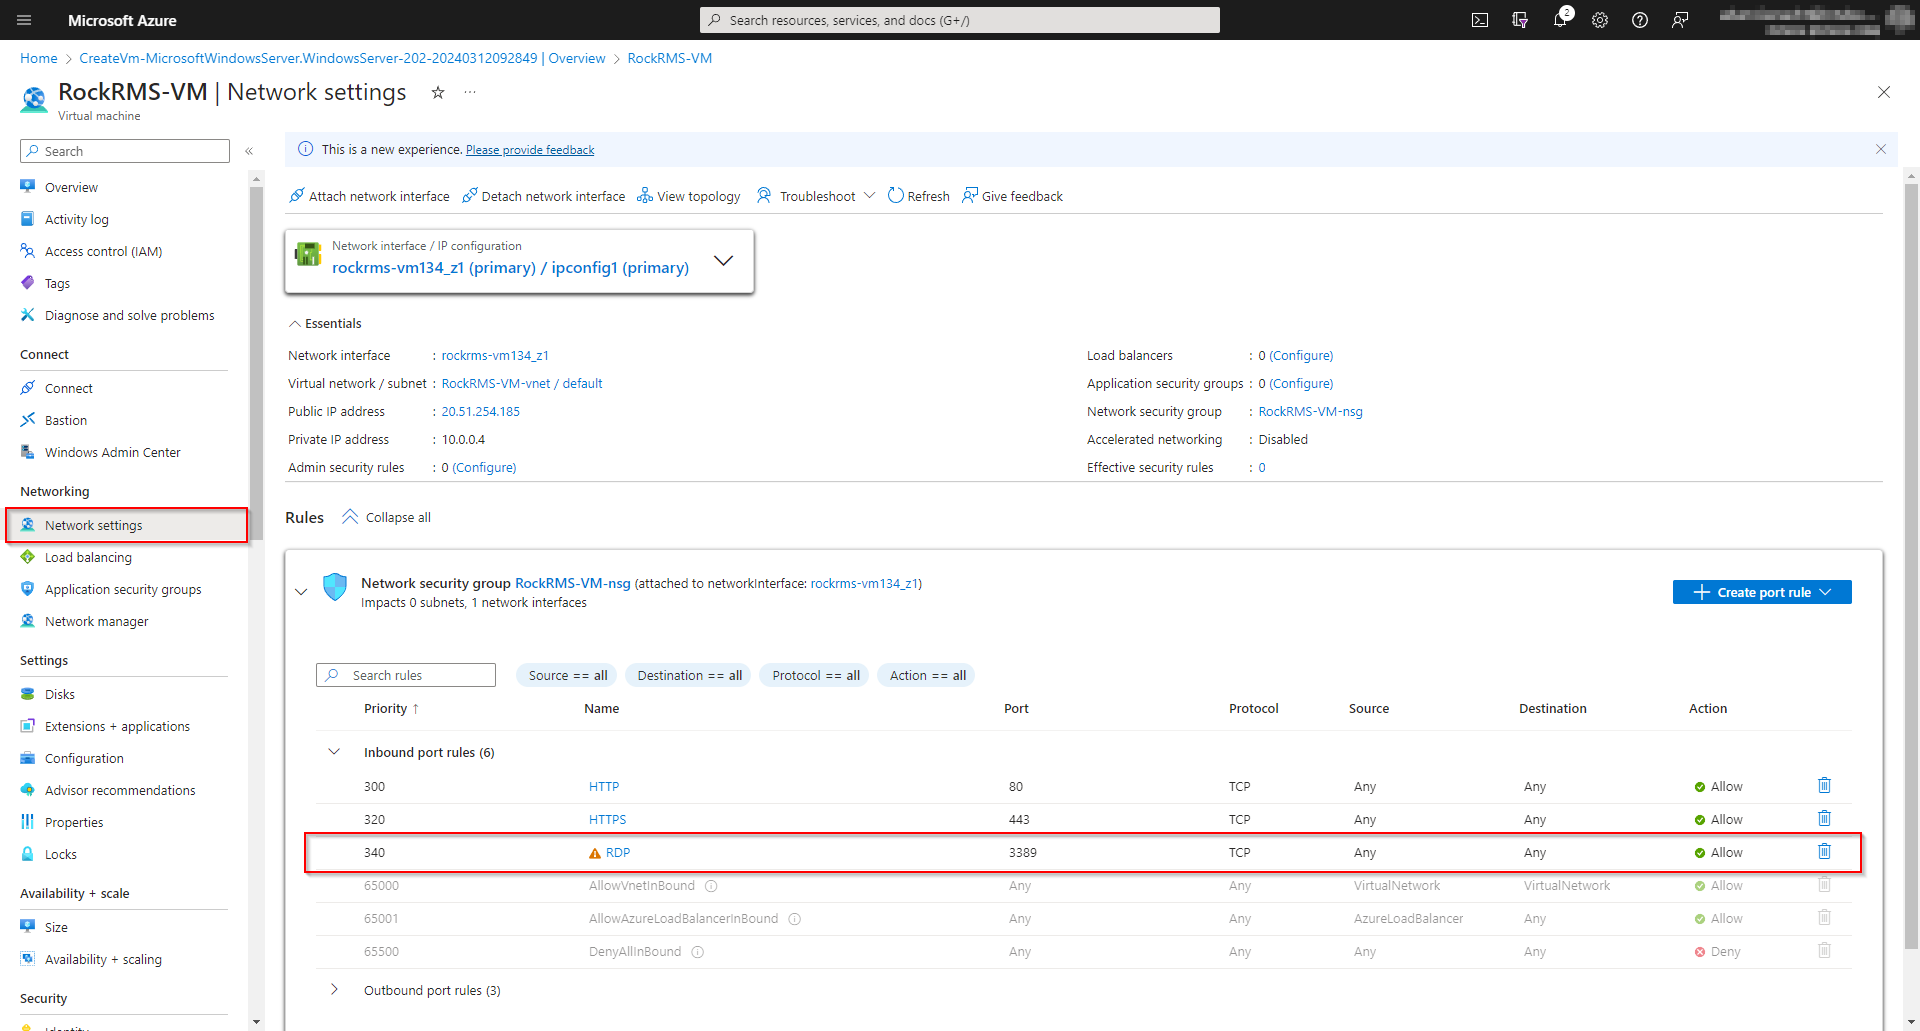
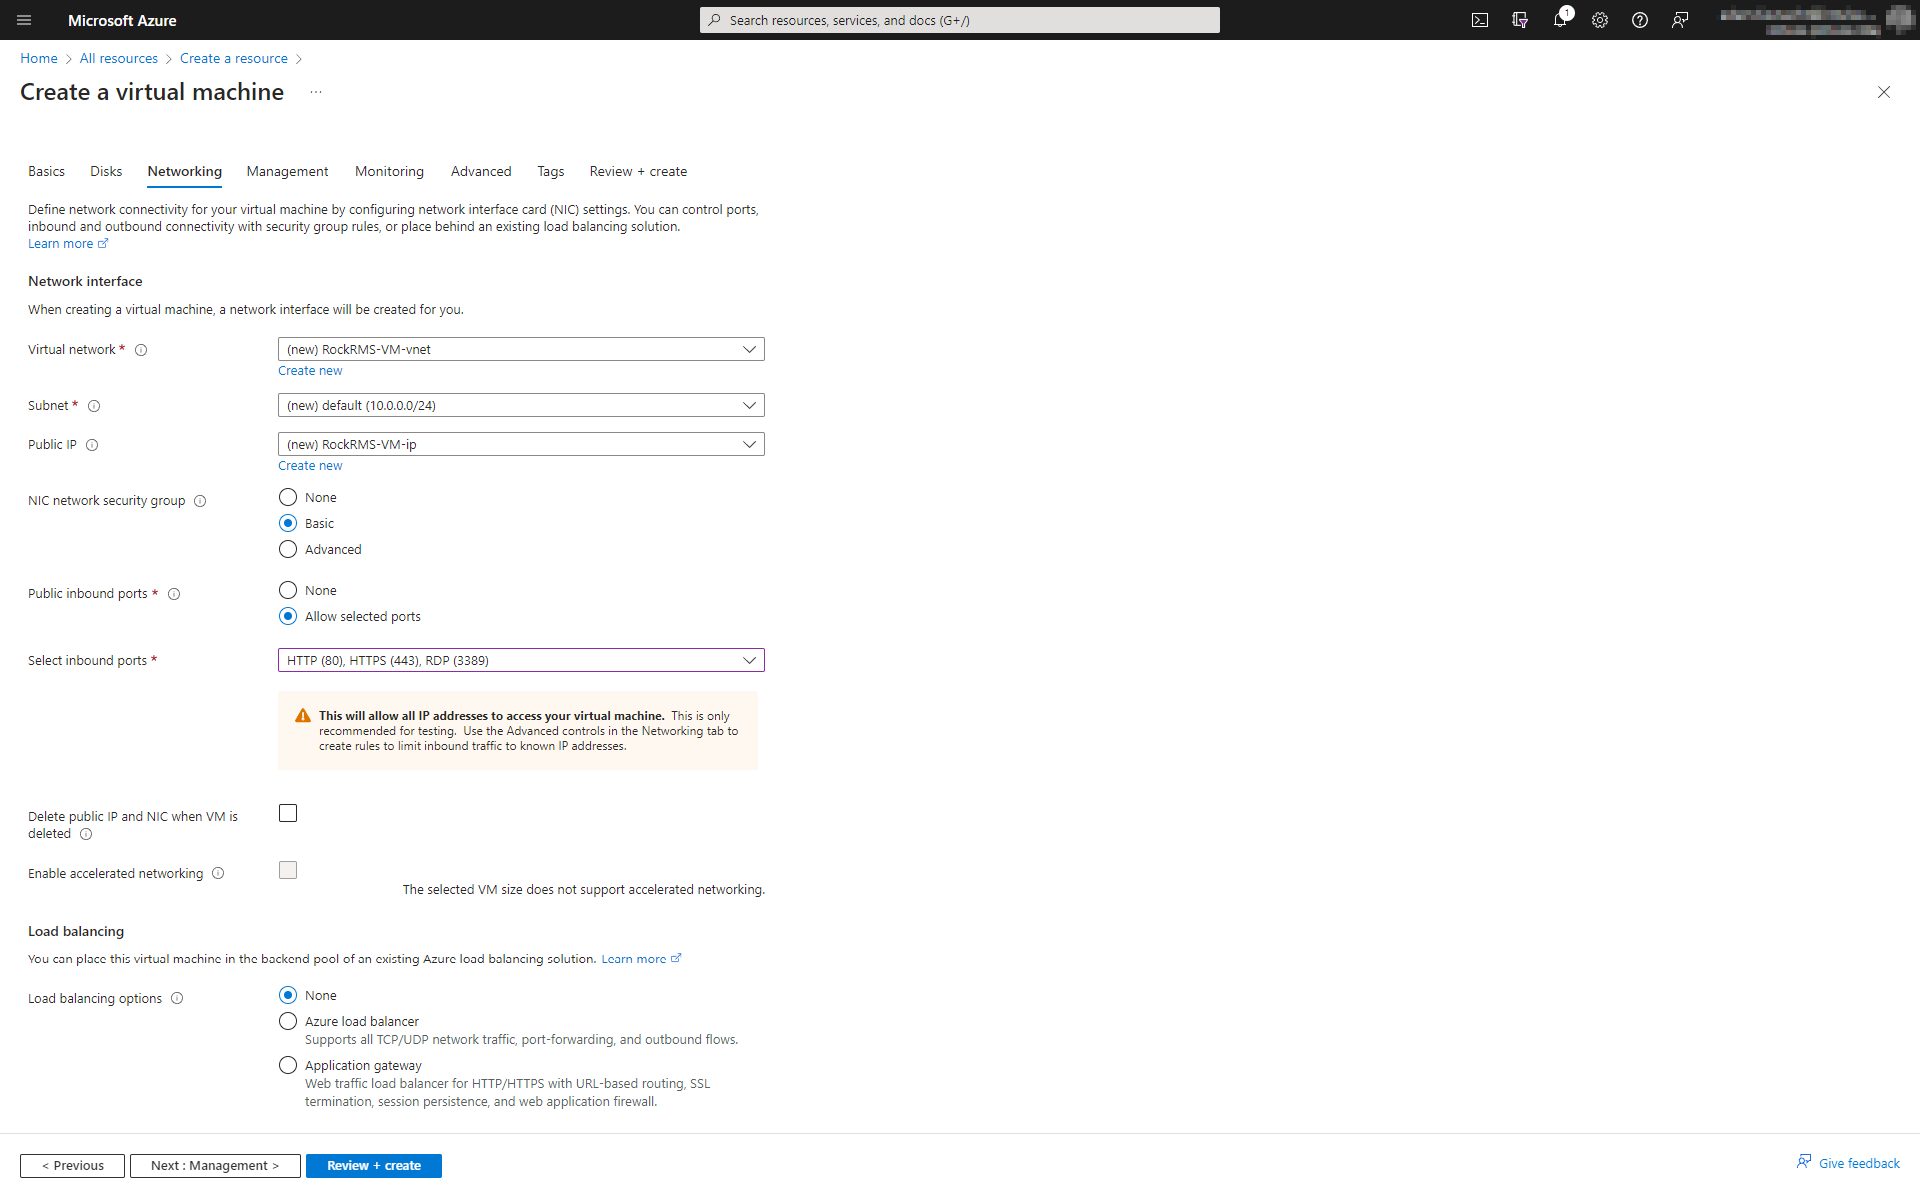
Network security and configuration of the Network Security Group (NSG) is outside of the scope of this guide, but the ports that are typically opened to the public Internet are port 80 & 443.
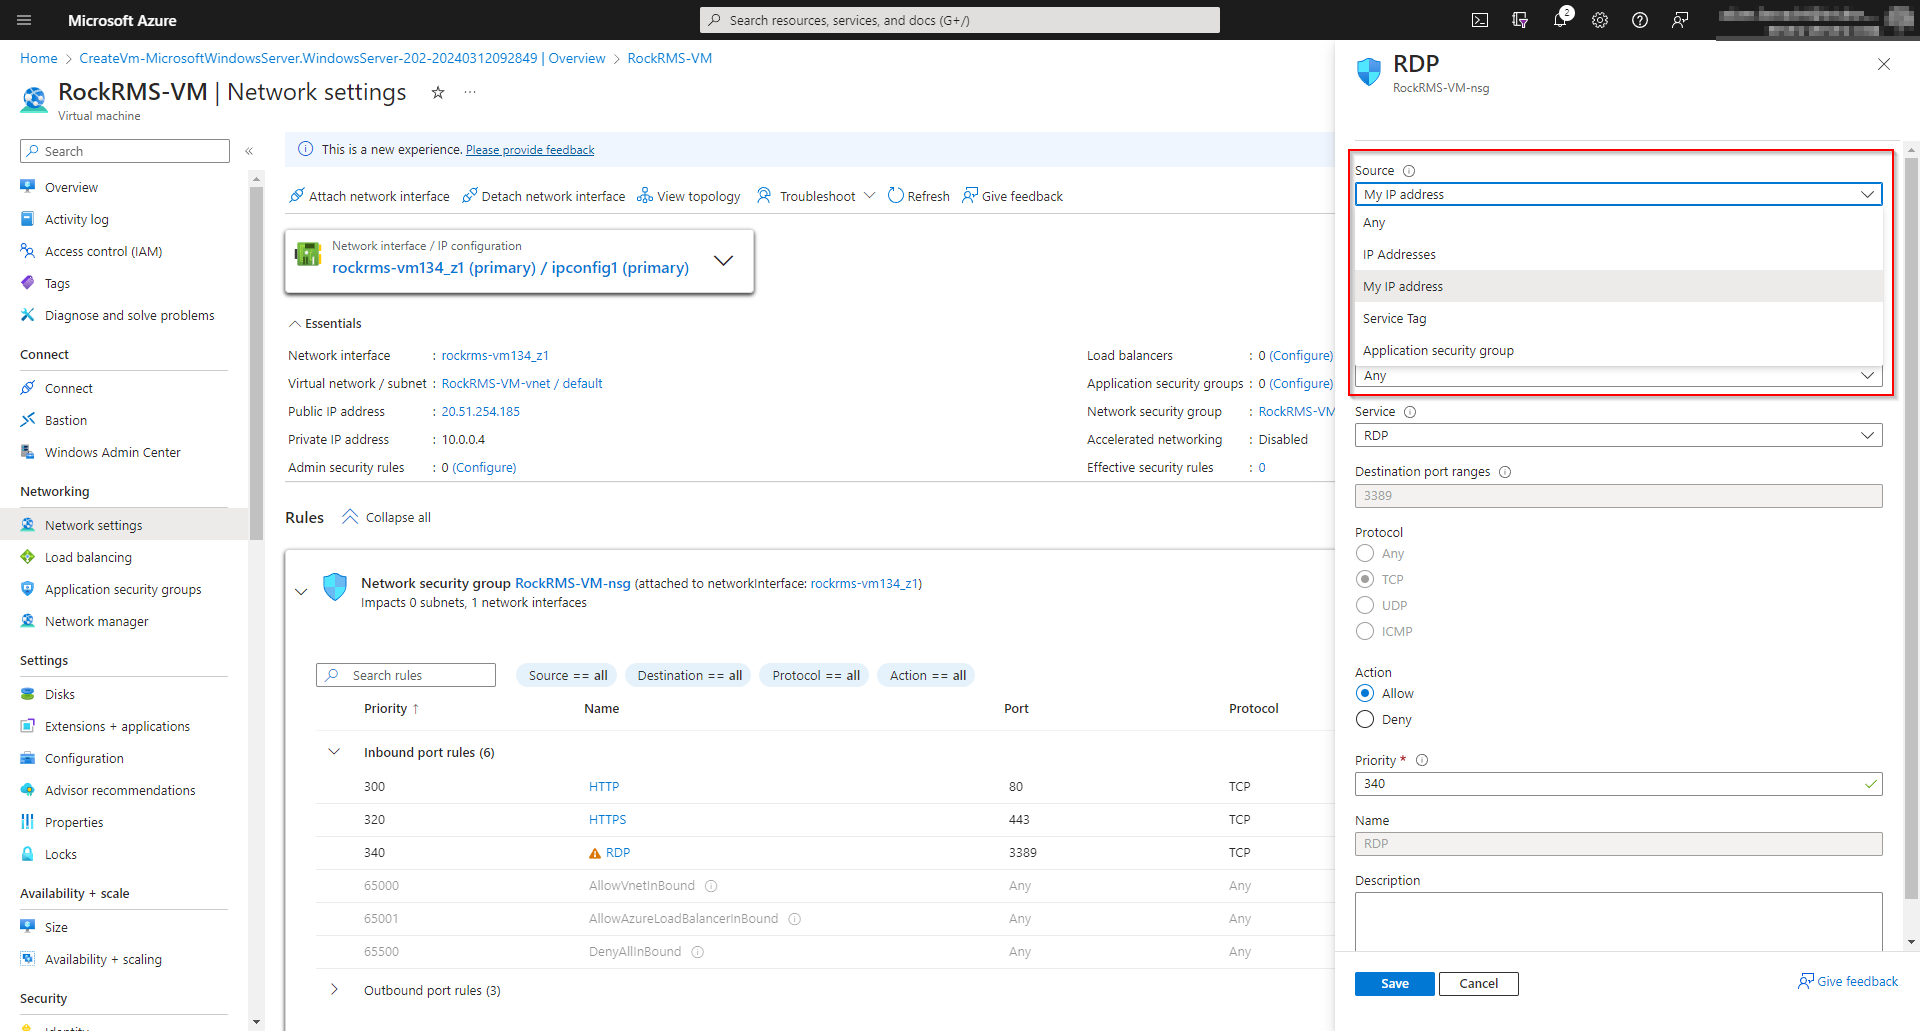
Because you will need access to the VM desktop for configuration, it is also necessary to open RDP port 3389 on the NSG as well. Because of the attack surface of RDP, it is wise to only allow RDP access from your specific IP address if you have a static IP. There are other methods of accessing the VM as well such as Bastion, Windows Admin Center, etc. These are outside of the scope of this guide as well.
For the "Source", you can choose a few options. If you have a static IP address at your location, you can limit access to that specific IP. Or, additionally, choose another IP address/Range. Keep in mind that for even more security, you can remove RDP access altogether on the network, and only enable it when you need access.
Before proceeding further, the URL of the RockRMS website should be chosen. For example. rockrms.churchname.com. On your public registrar (Google, Godaddy, Cloudfare, etc) create a host entry for this URL/domain name and point it to the public IP address that you set for the VM above.
From the VM page, click on Connect. Then click Download RDP file. Open the file to connect to the new VM.
Now is a great time to run Windows updates on your new VM.
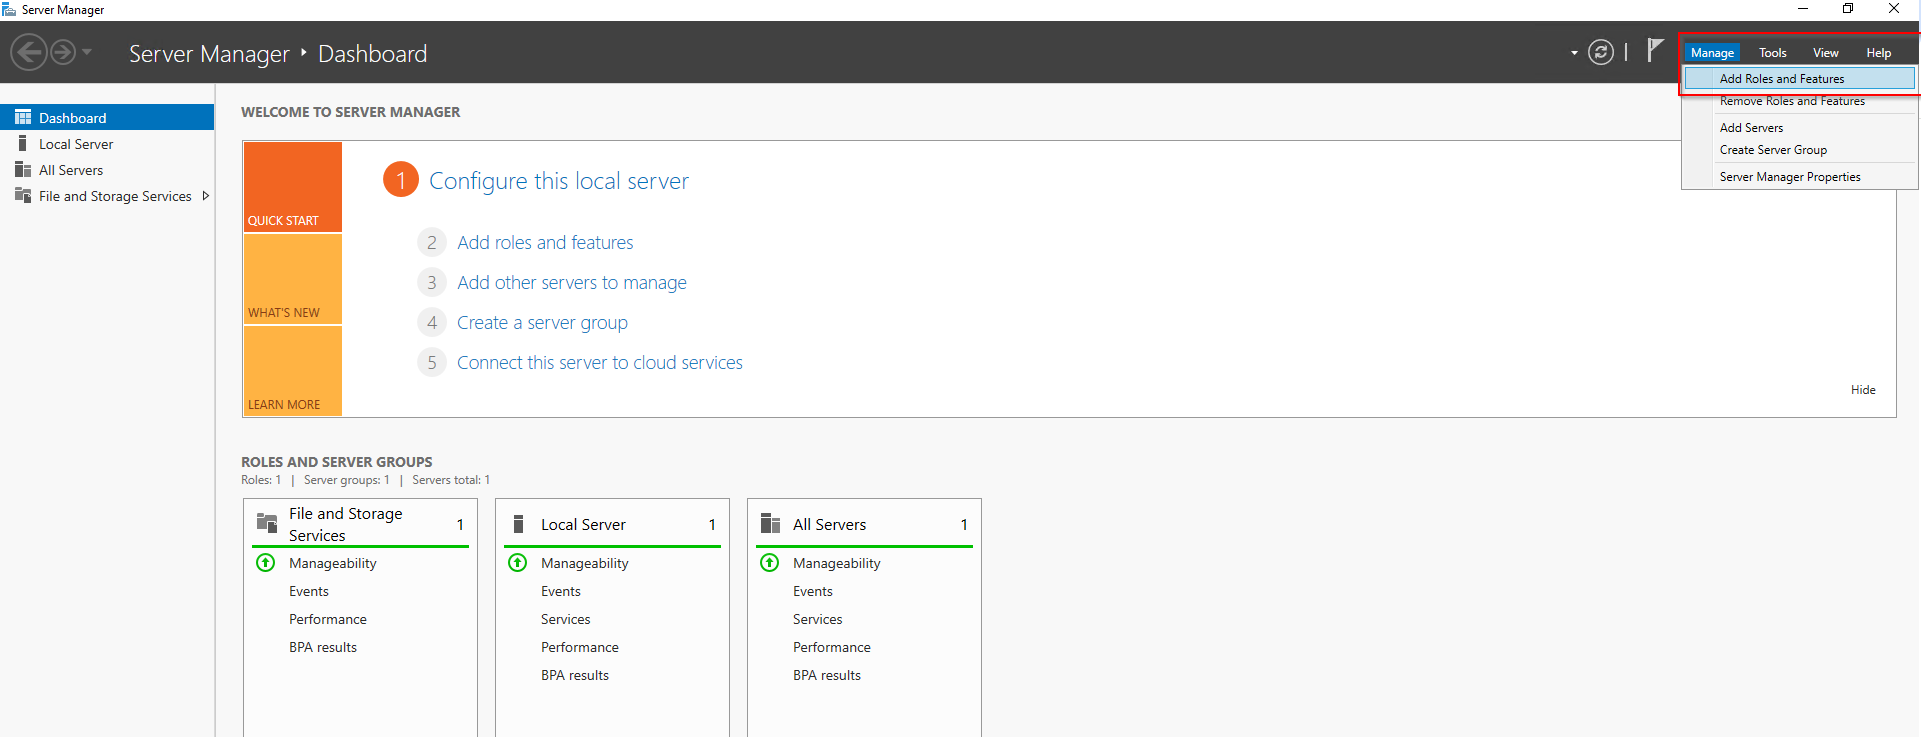
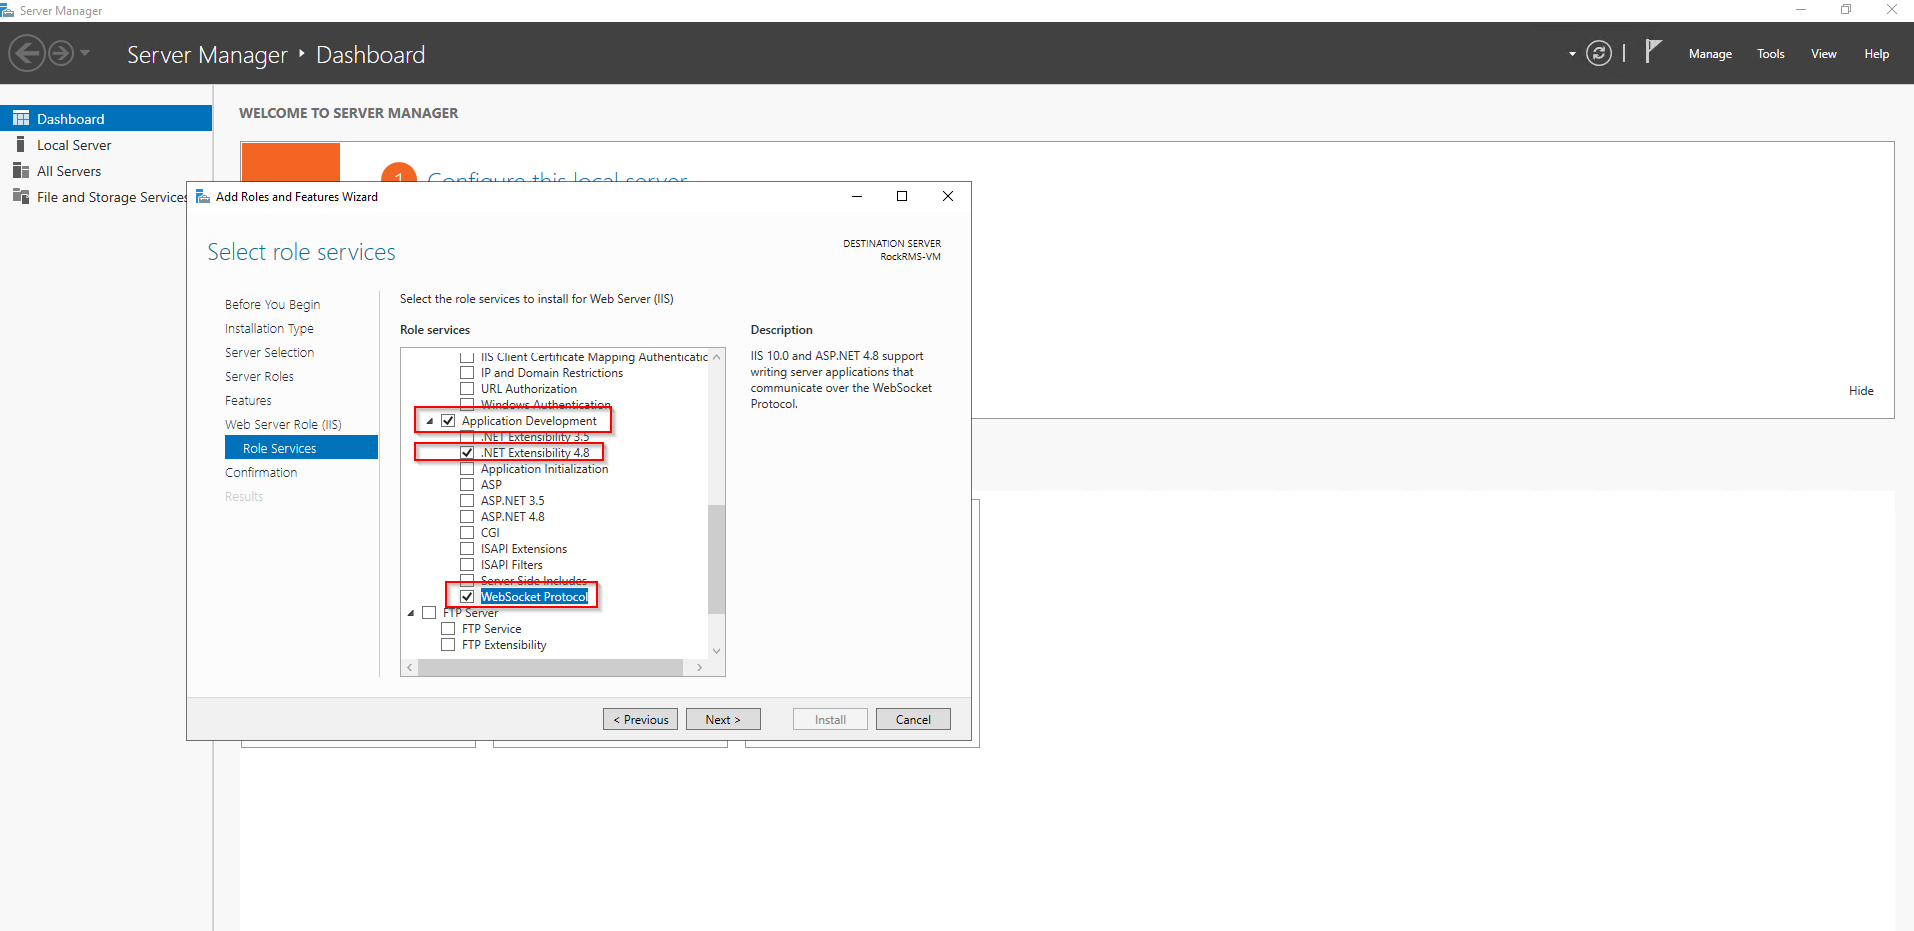
Once installation is completed, you can configure IIS.
If you do not already have an SSL certificate for your website, now would be a great time to get one.
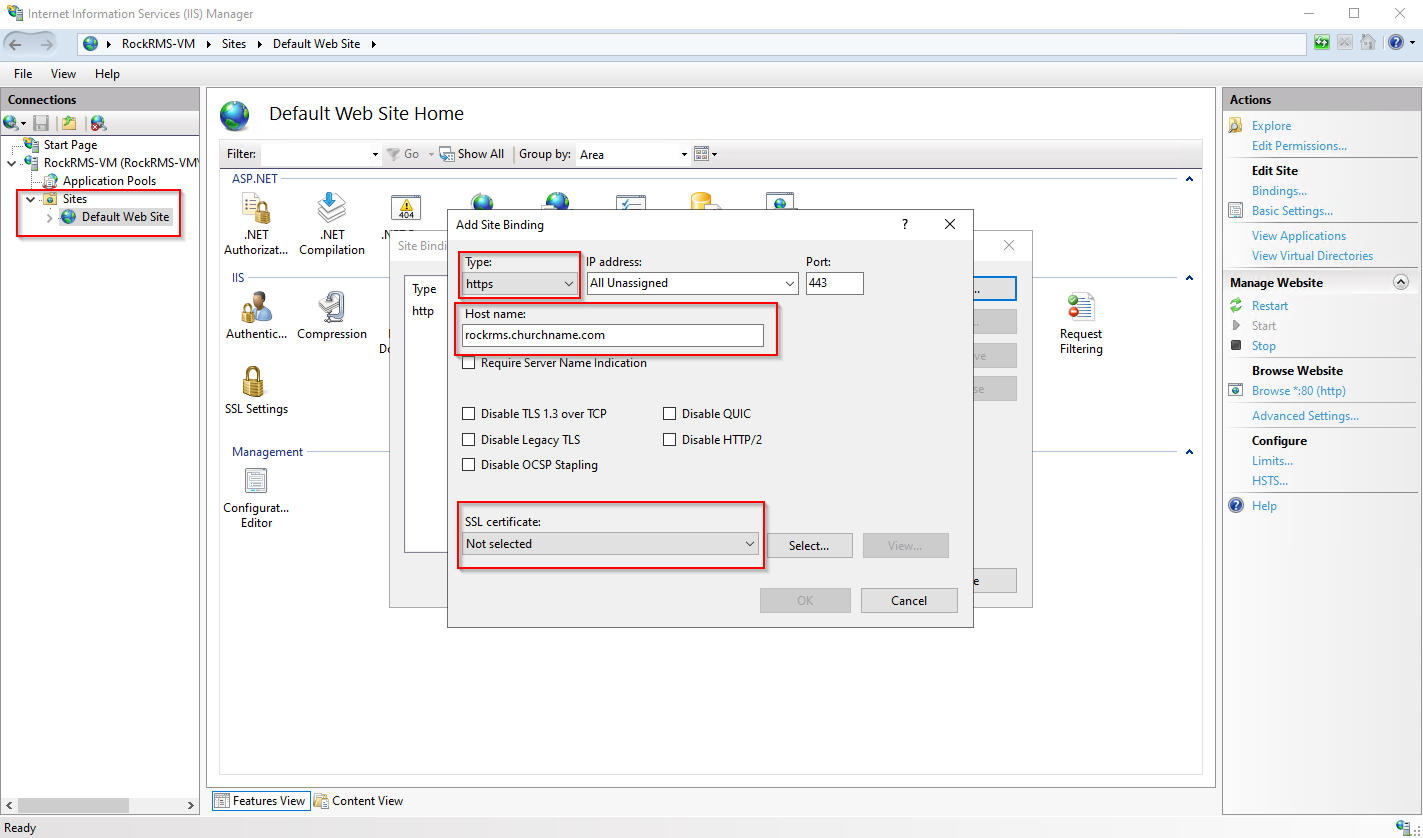
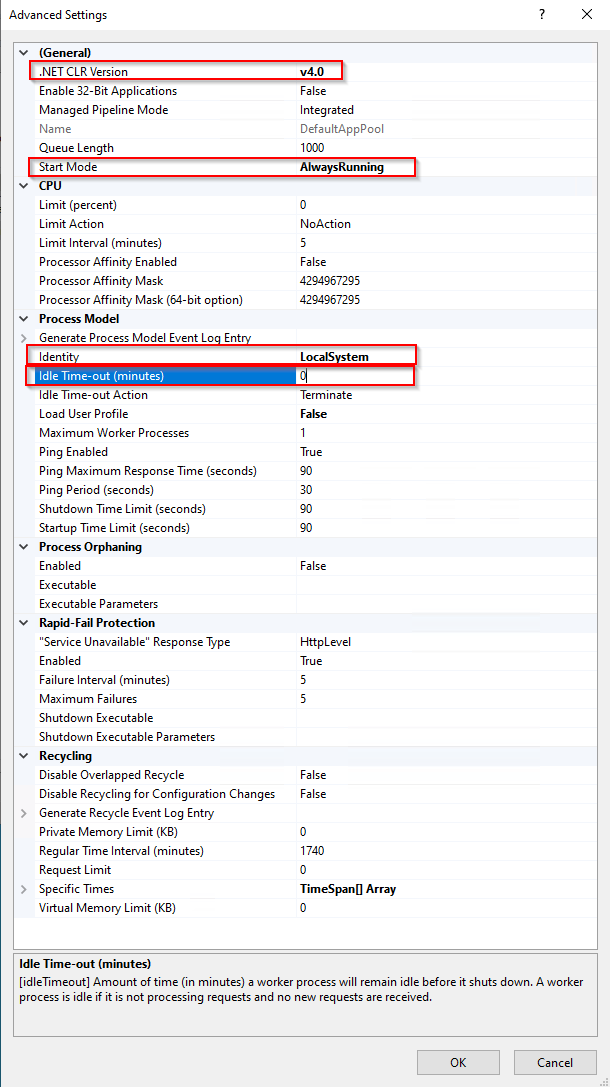
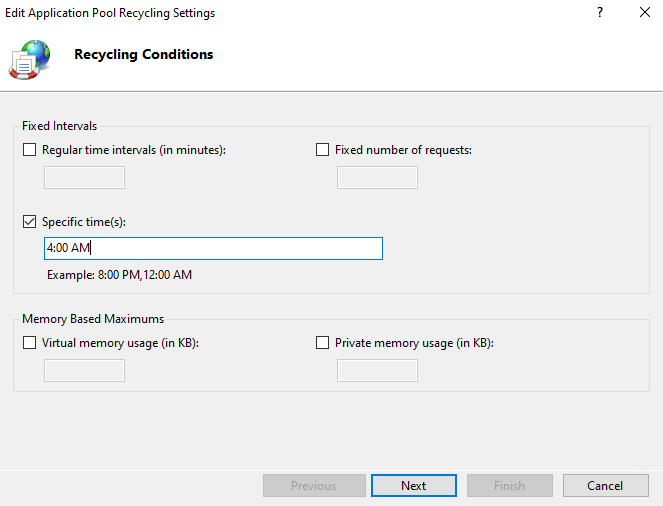
Now right-click on DefaultAppPool and click on Recycling. Un-check Regular Time Intervals and instead provide a convenient time for Rock to restart each day (such as 4:00am) in the Specific Time(s) option. Click next and then click Finish.
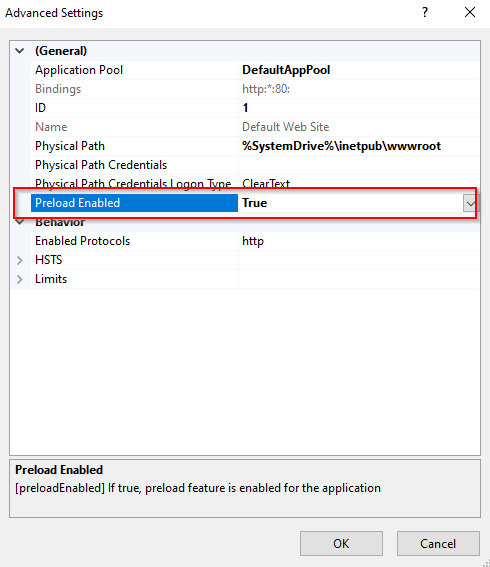
Finally, expand Sites (below Application Pools on the left side) and right-click Default Web Site. Choose Manage Website -> Advanced Settings. Change Preload Enabled to True and click OK.
Next we will setup an Azure SQL database
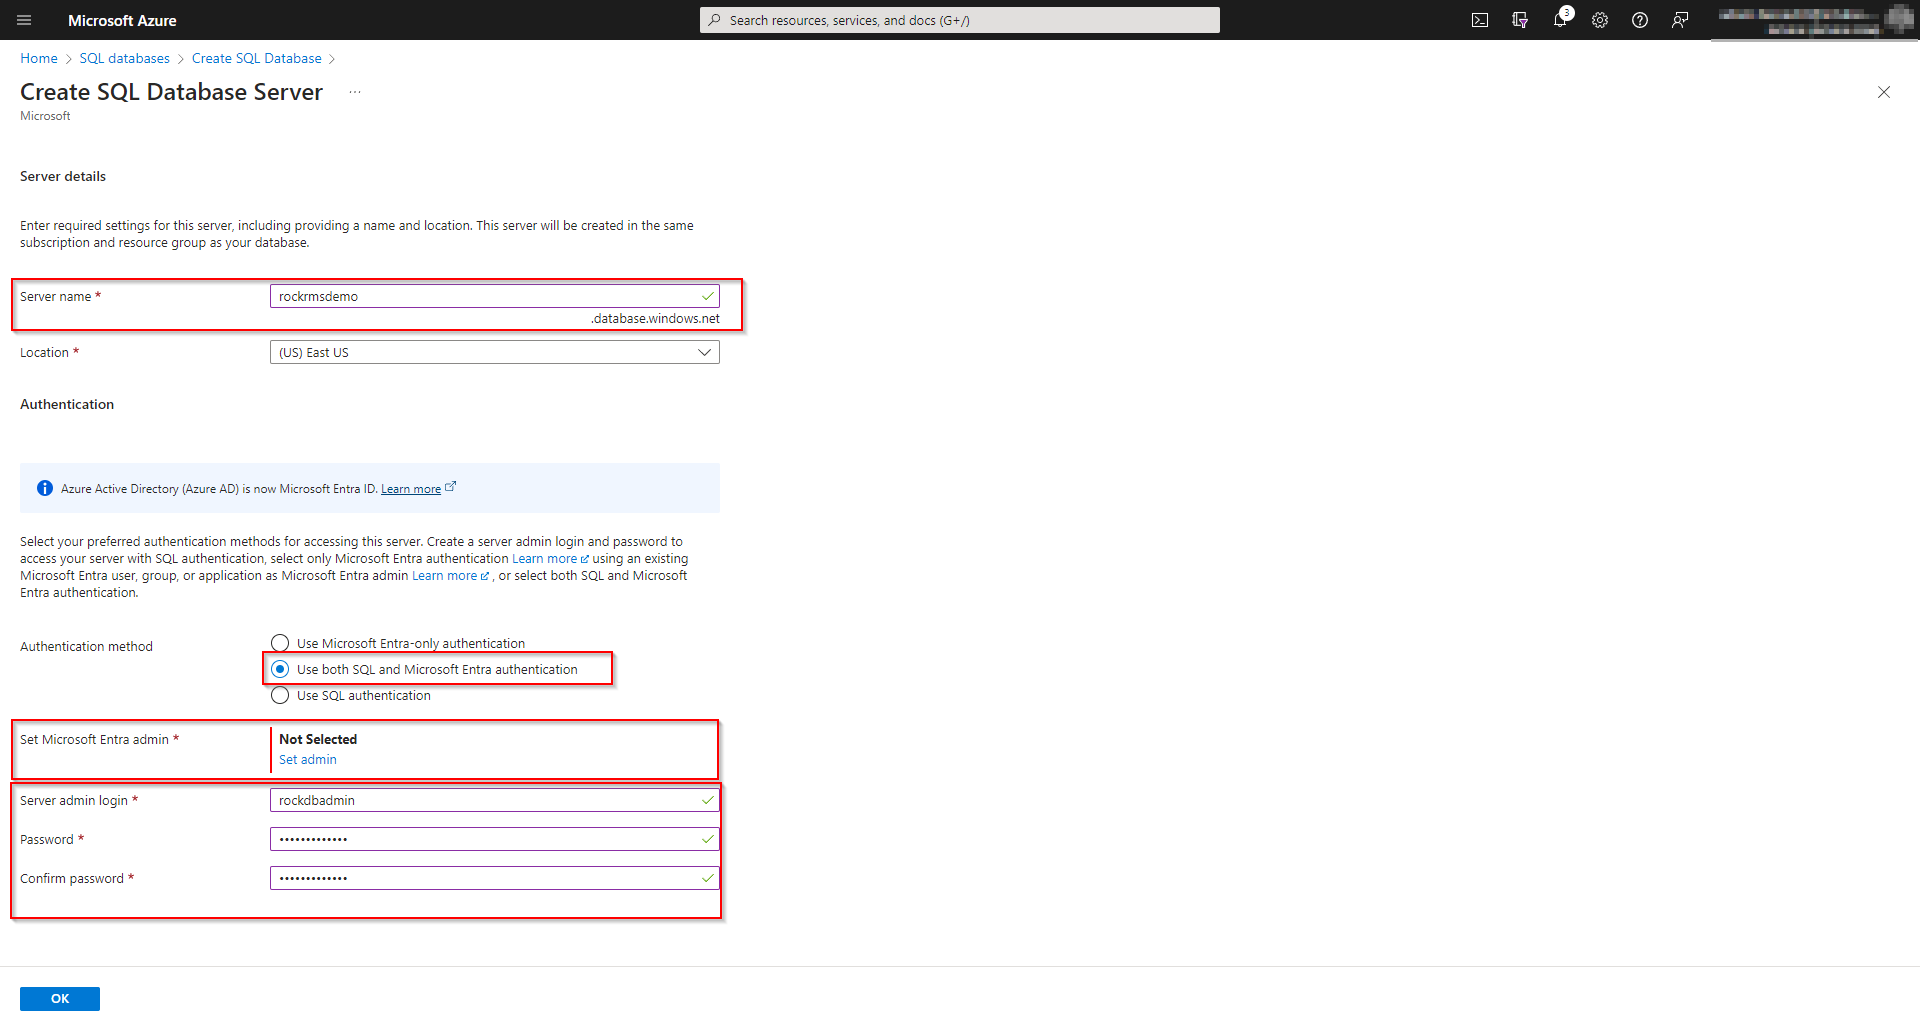
In the Azure search bar, search for SQL Database. Click on Create SQL Database.
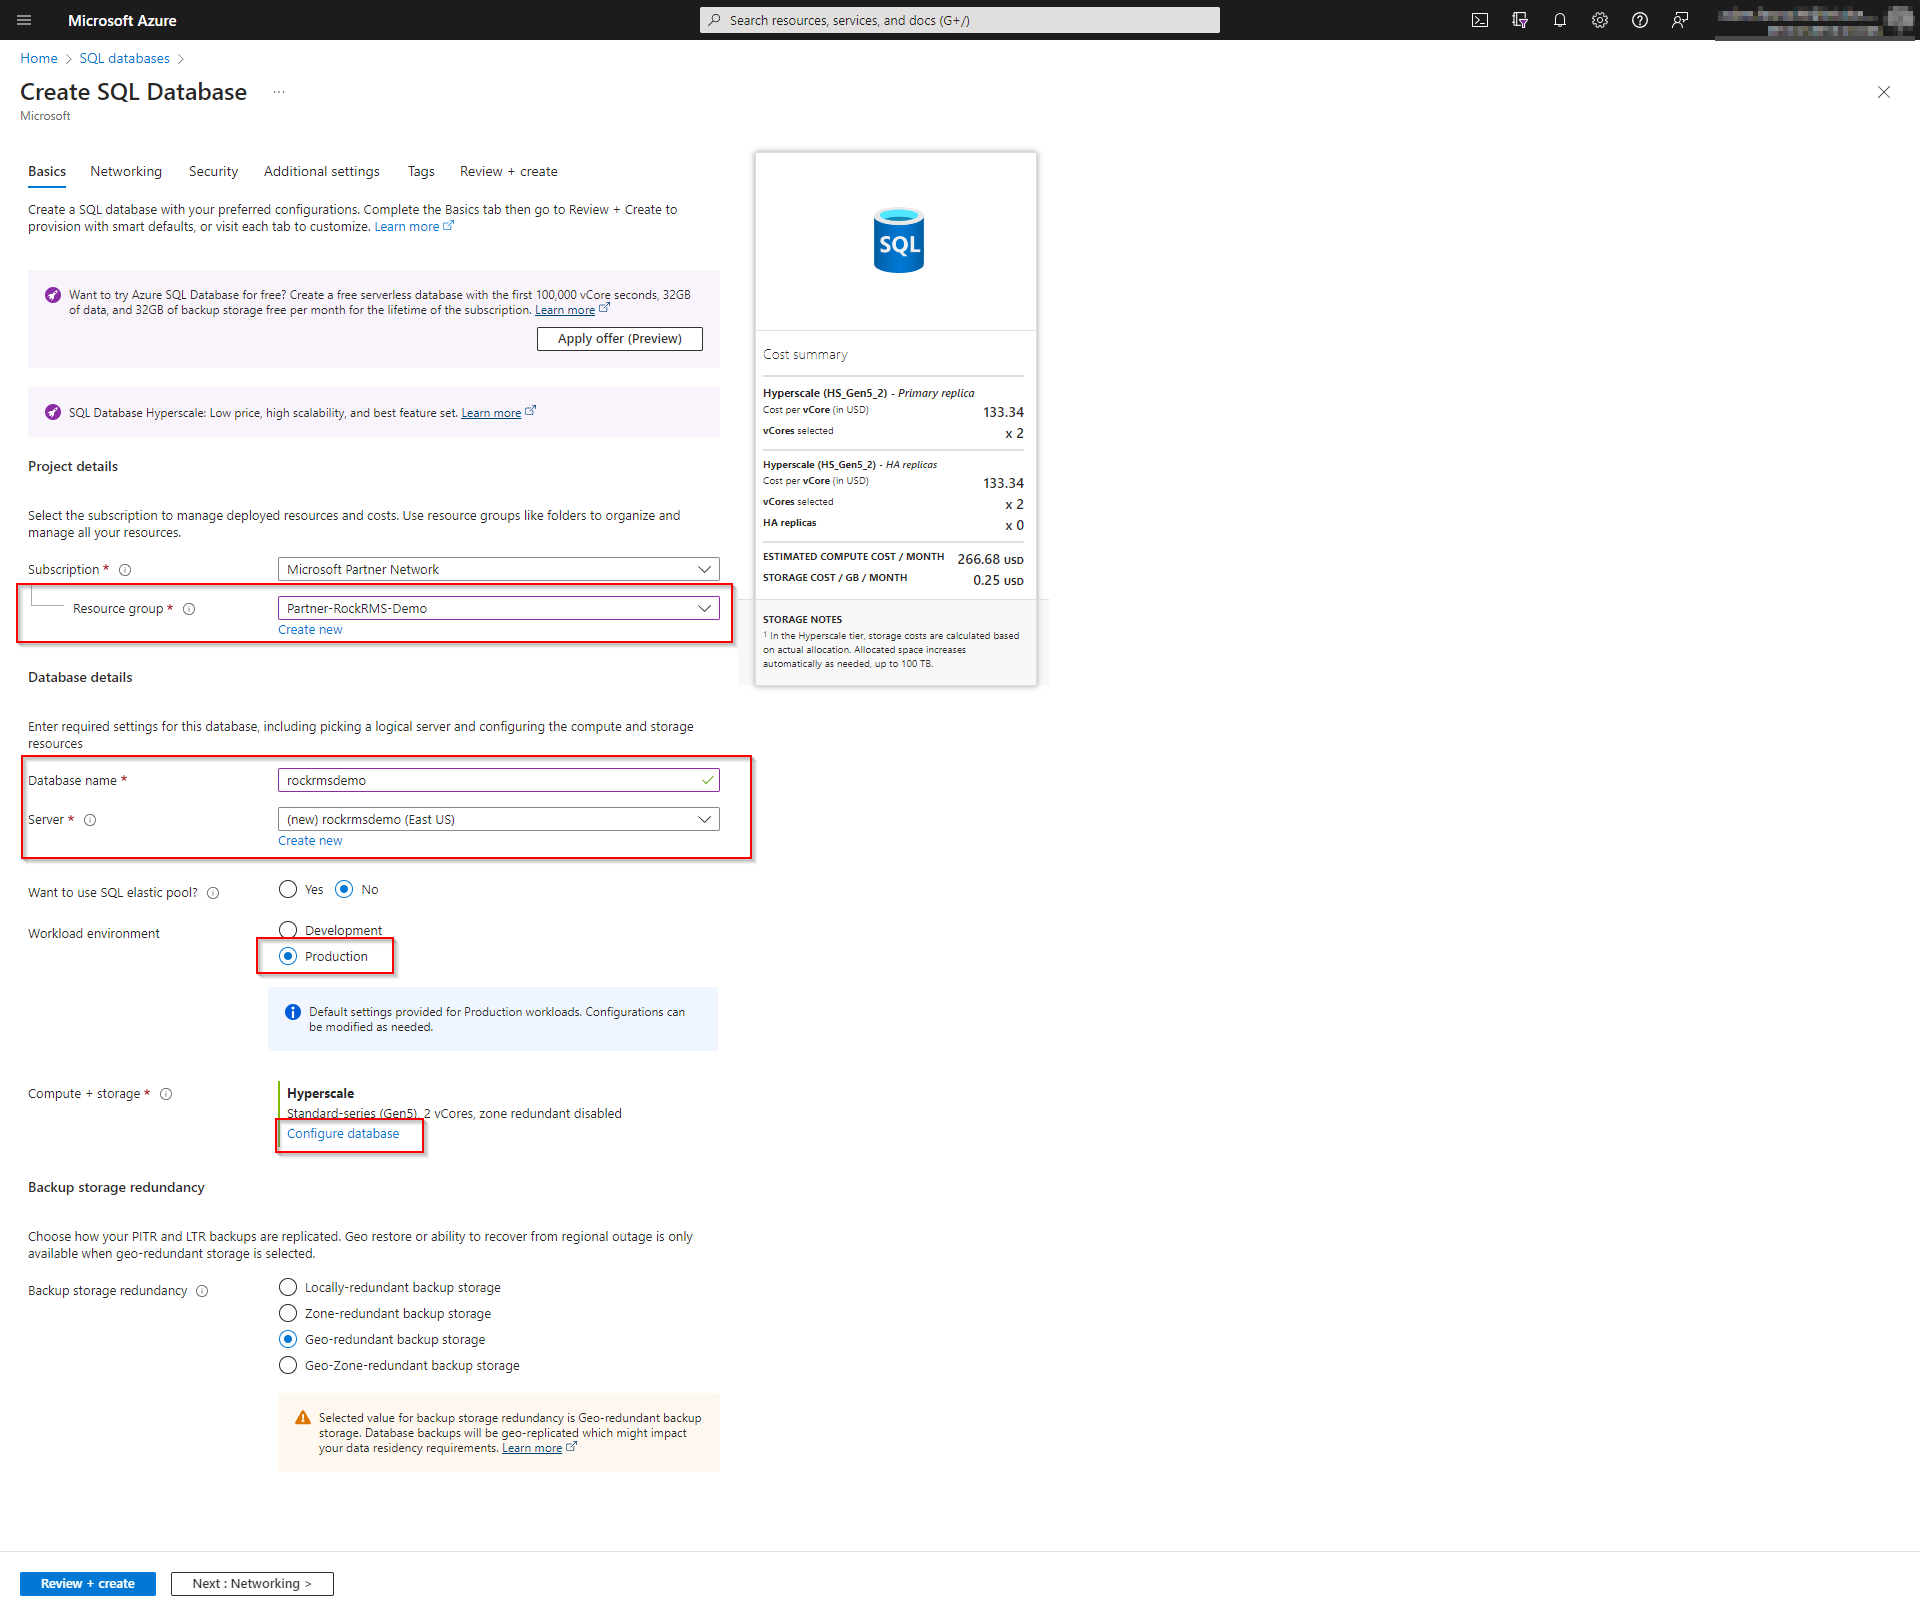
Select Production for your worklod environment. Then click on Configure Database
Select your service tier
Your service tier will dramatically affect your monthly cost of your database. Selecting a VCore-base model will typically be more expensive than selecting a DTU-based model. Of course, this all depends on the individual needs and requirements for your organization. More information can be found on the Microsoft site here:
For this demo, we choosing a Standard DTU-based model which provides a default of 10 DTUs and a data size of 250 GB.
Next you can choose your backup storage redundancy
Because you are backing up your databases, right?
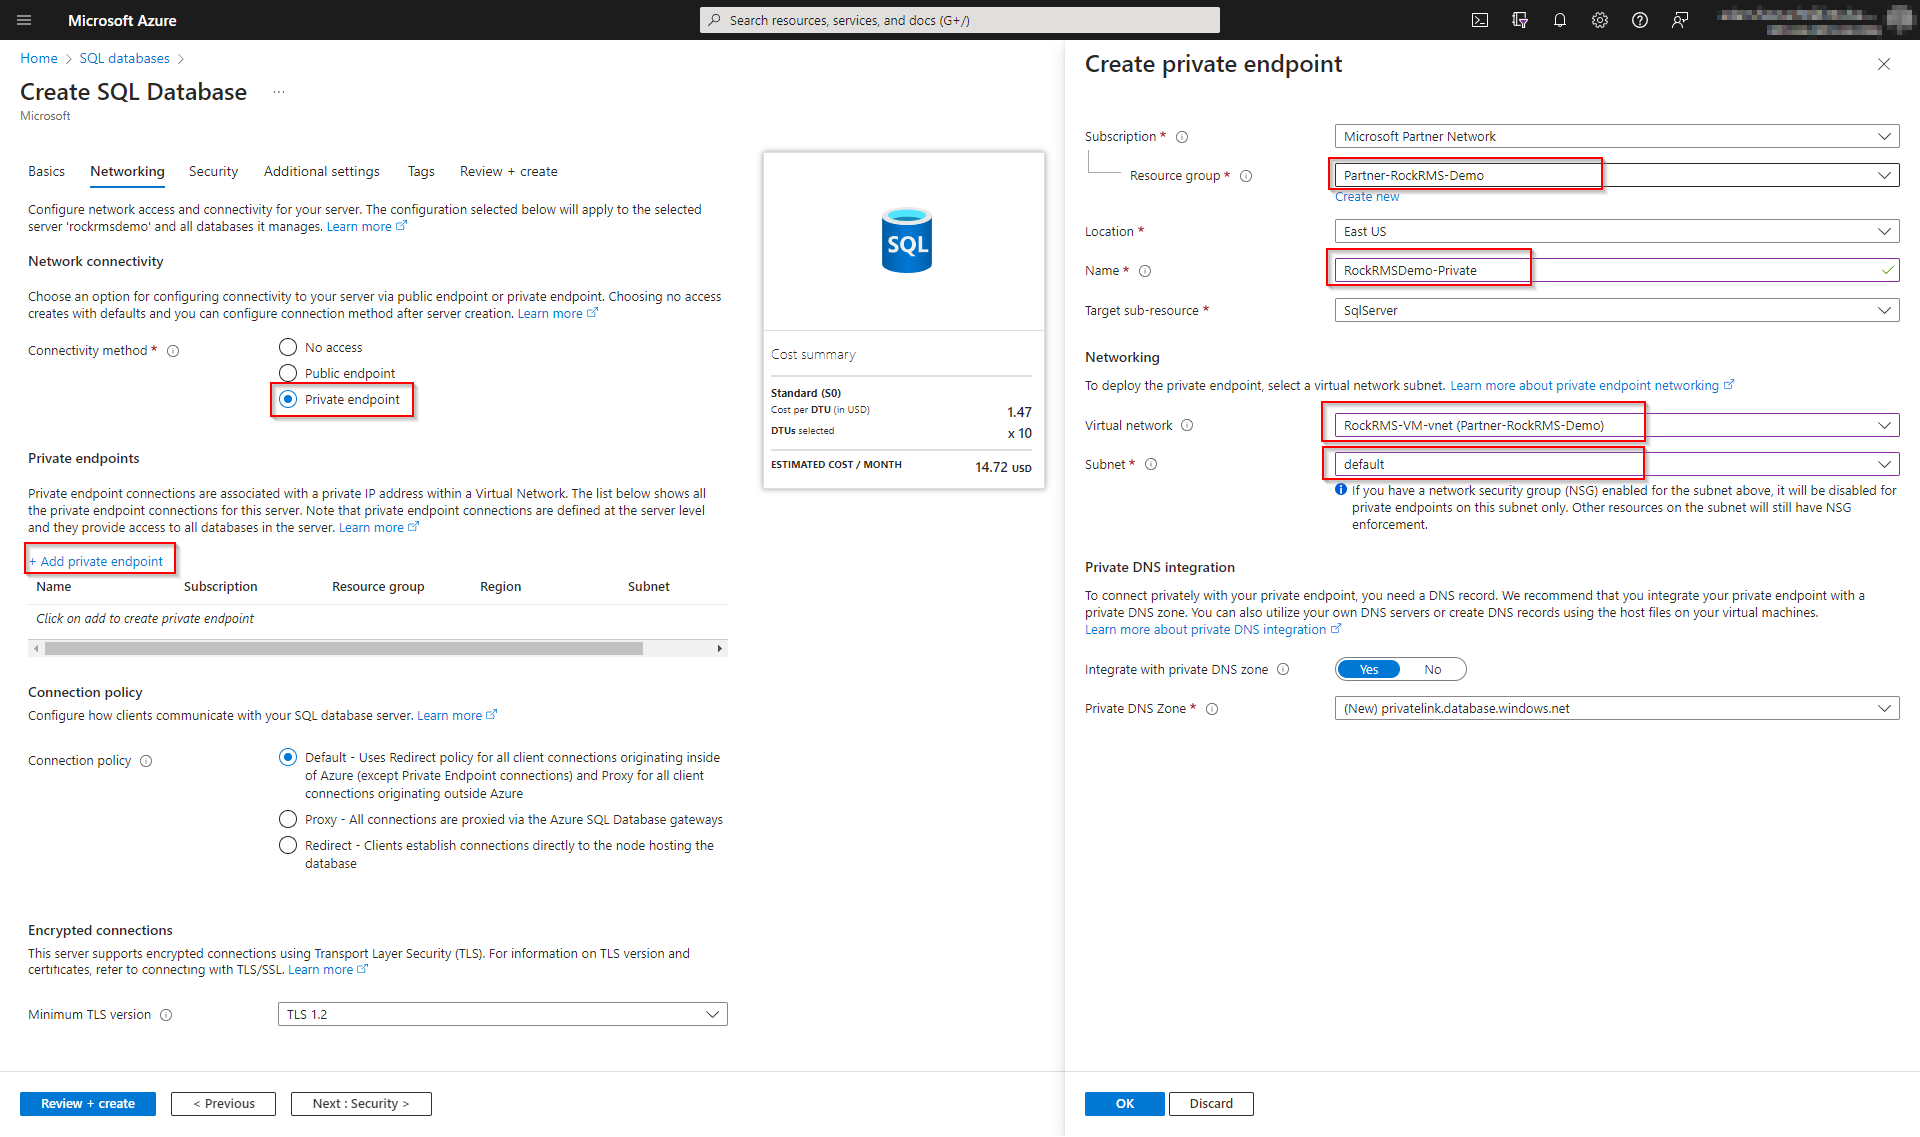
Next we choose our connectivity method. This is how we will expose our Azure Database to our web server VM. Since both the VM and the Database are within the Azure ecosystem, we can choose Private Endpoint.
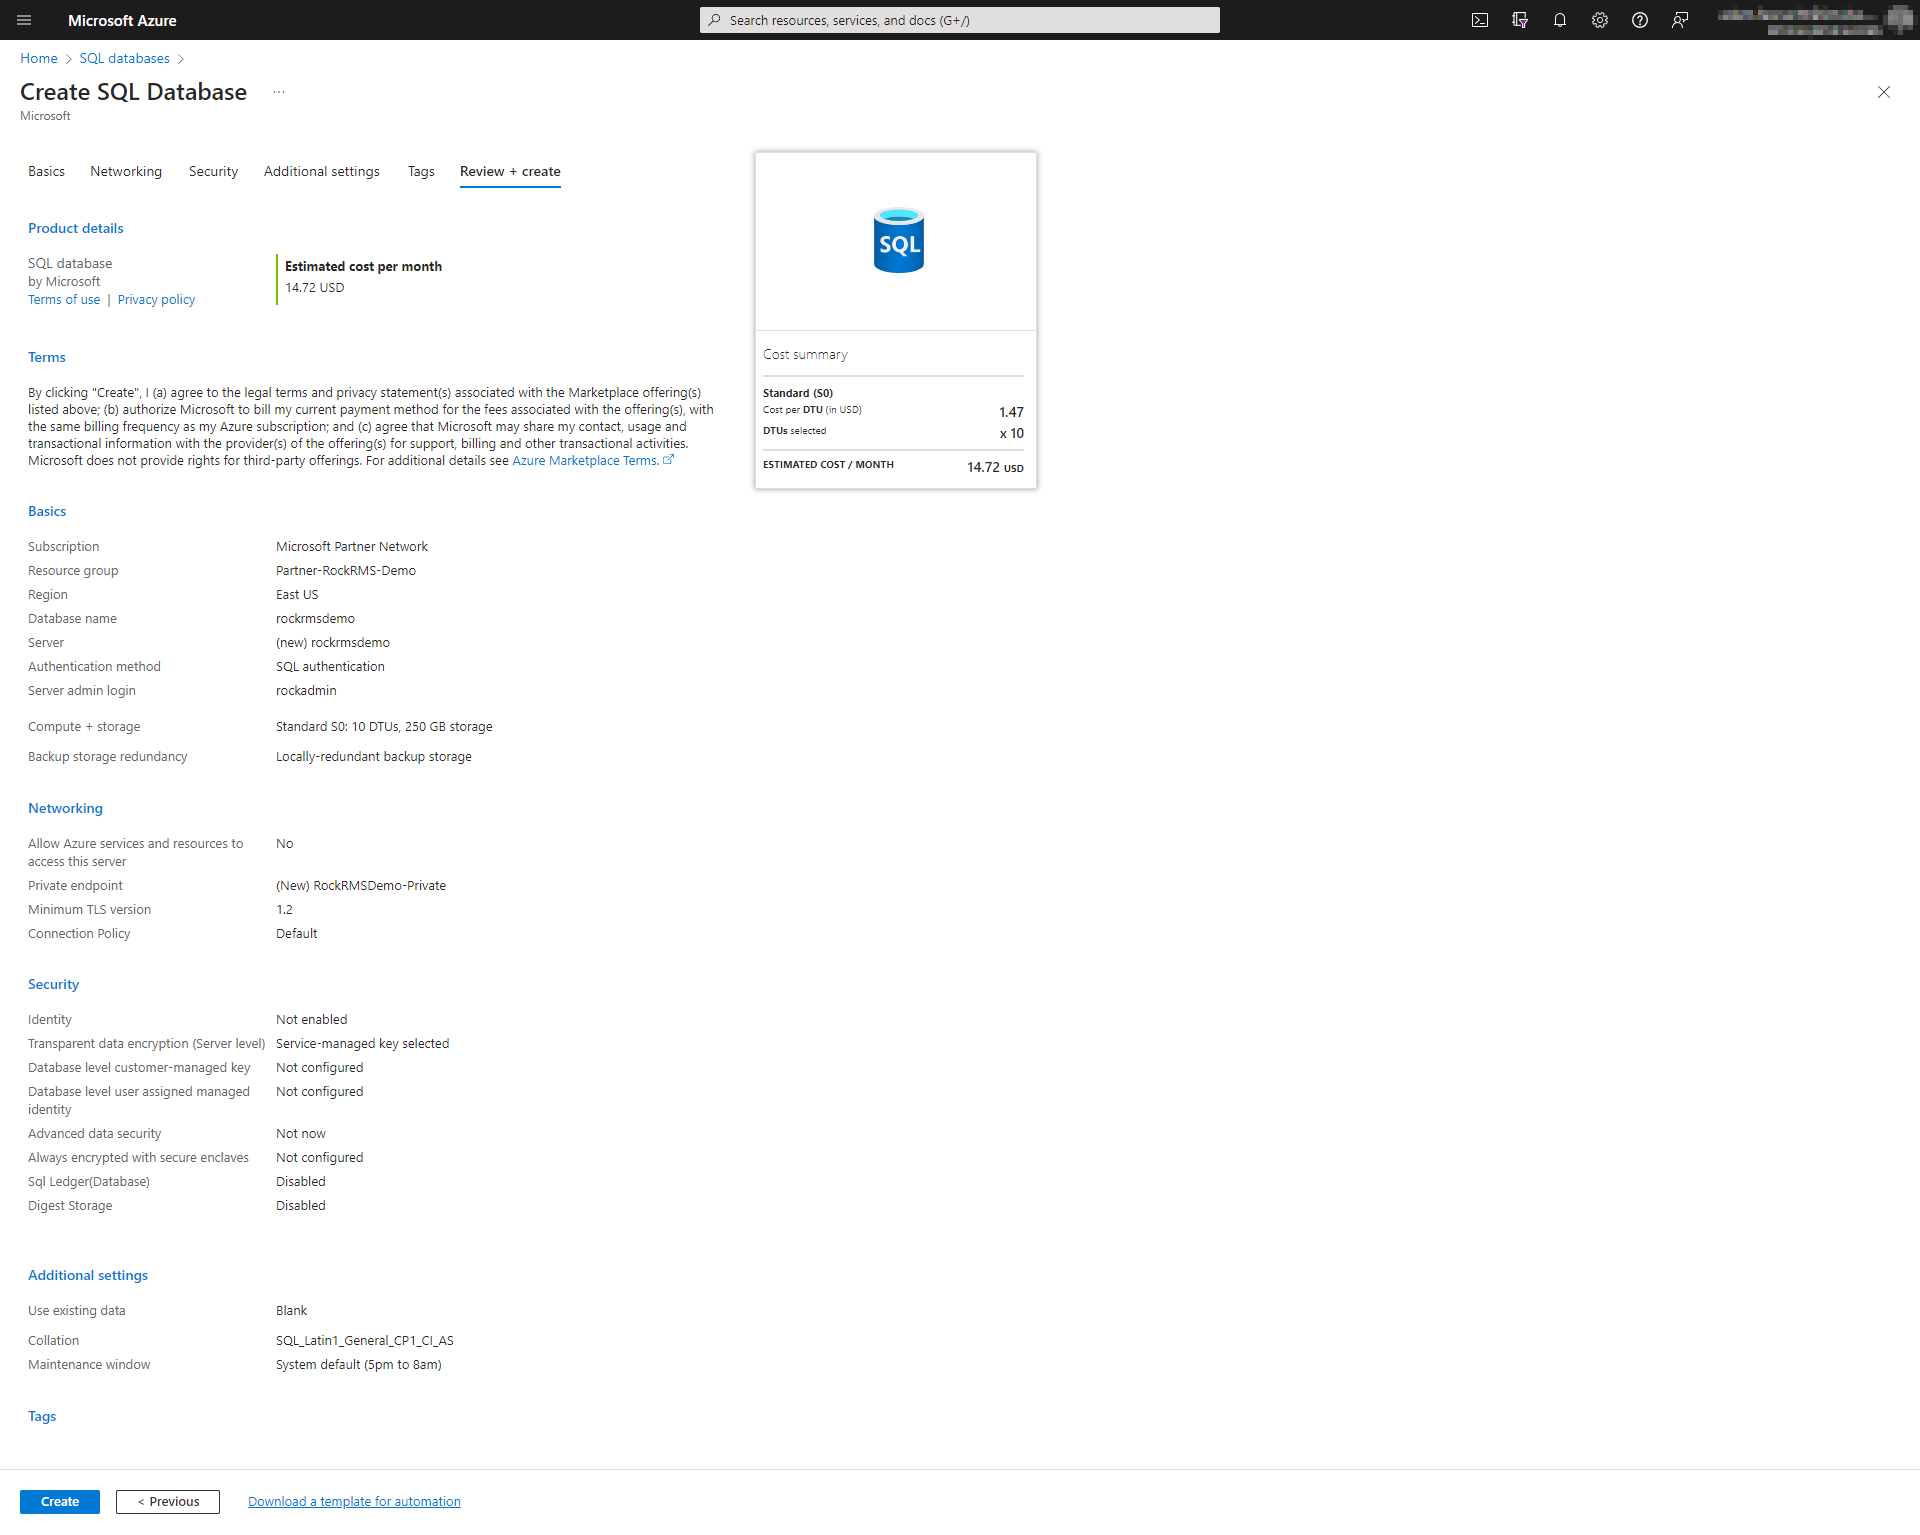
Choose any security options that you require. For this demo, all defaults are chosen for security, Additional settings, and tags.
Click Create to begin the deployment of your new server and database.
Now we have to use SQL Server Management Studio to connect to our DB, and add a new user. This assumes that the Rock user was NOT setup during DB creation. (which is a good thing, since creating the user during the DB creation step would essentially give the SA role to this user)
You can also use Azure Data Studio as well to connect to your database.
To allow for easy access from your local network to the SQL database server, we can allow "Public Access" to the database from our IP address. Note that Public Access doesn't actually mean we are exposing the database to the Internet, it means we are allowing access to the database from only the IP we specify here.
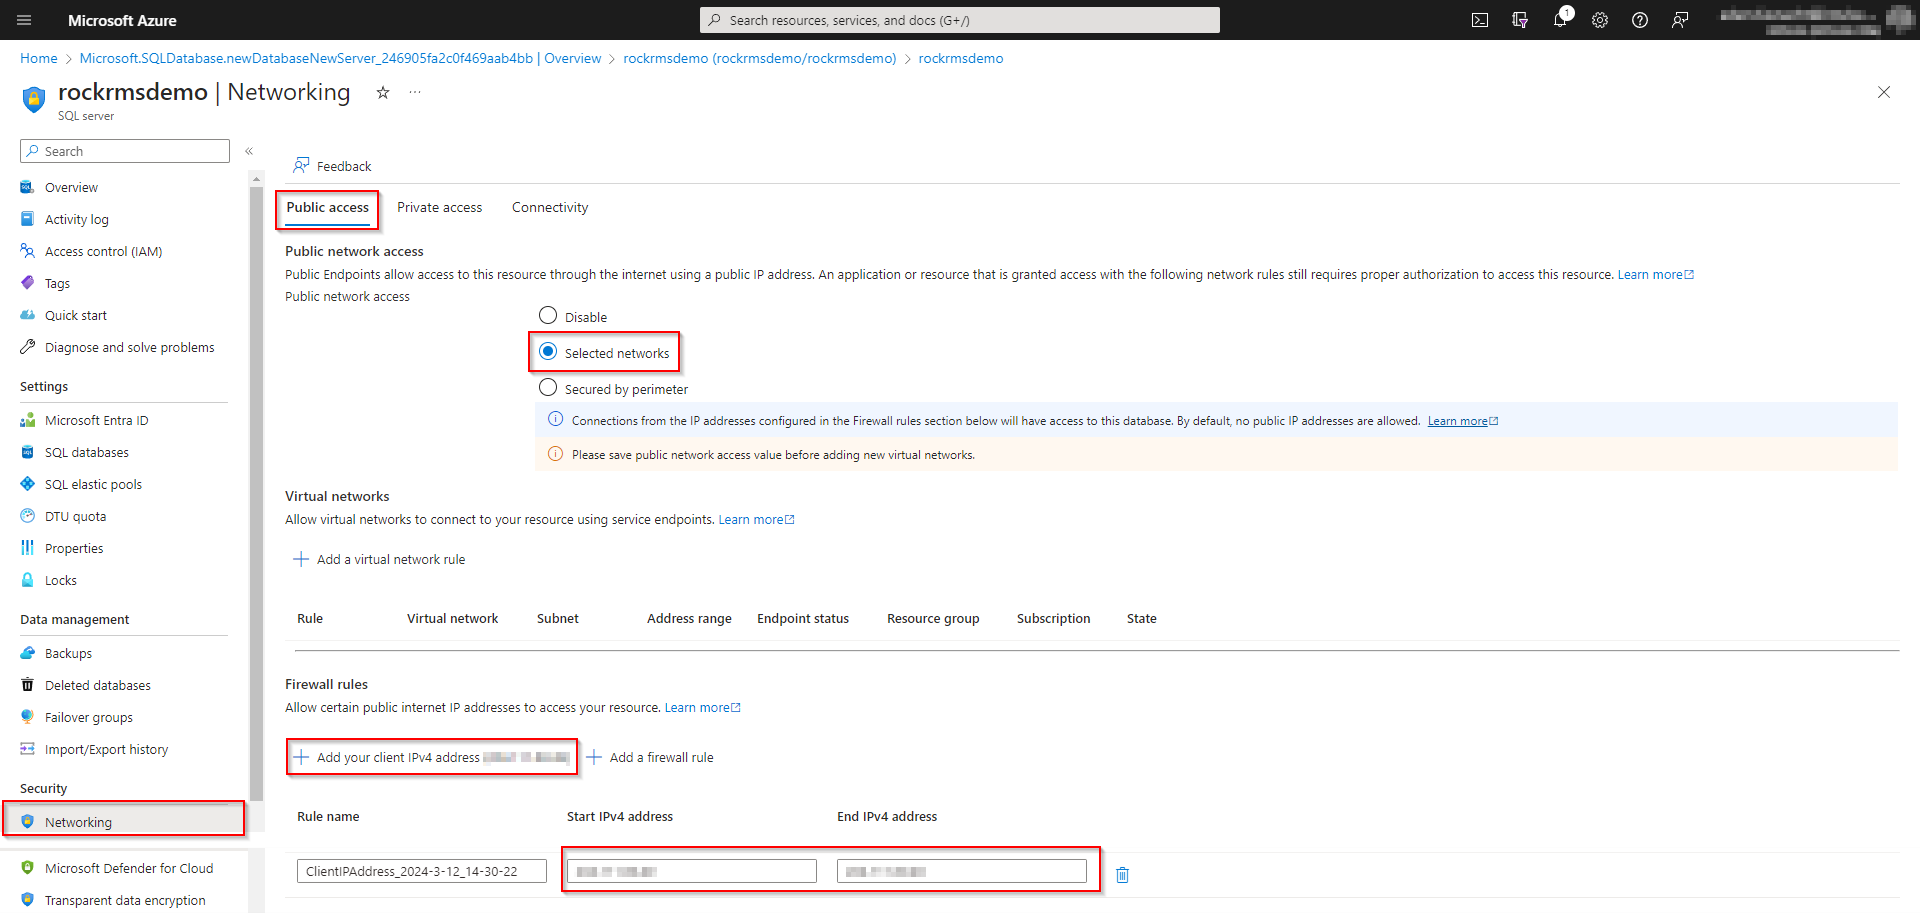
If you are worried about exposing this database to even your own IP address, you could only enable this access temporarily, and then remove it when we are done with the steps below.
Now that we have granted access to our local computer/IP, Open SQL Server Management Studio.
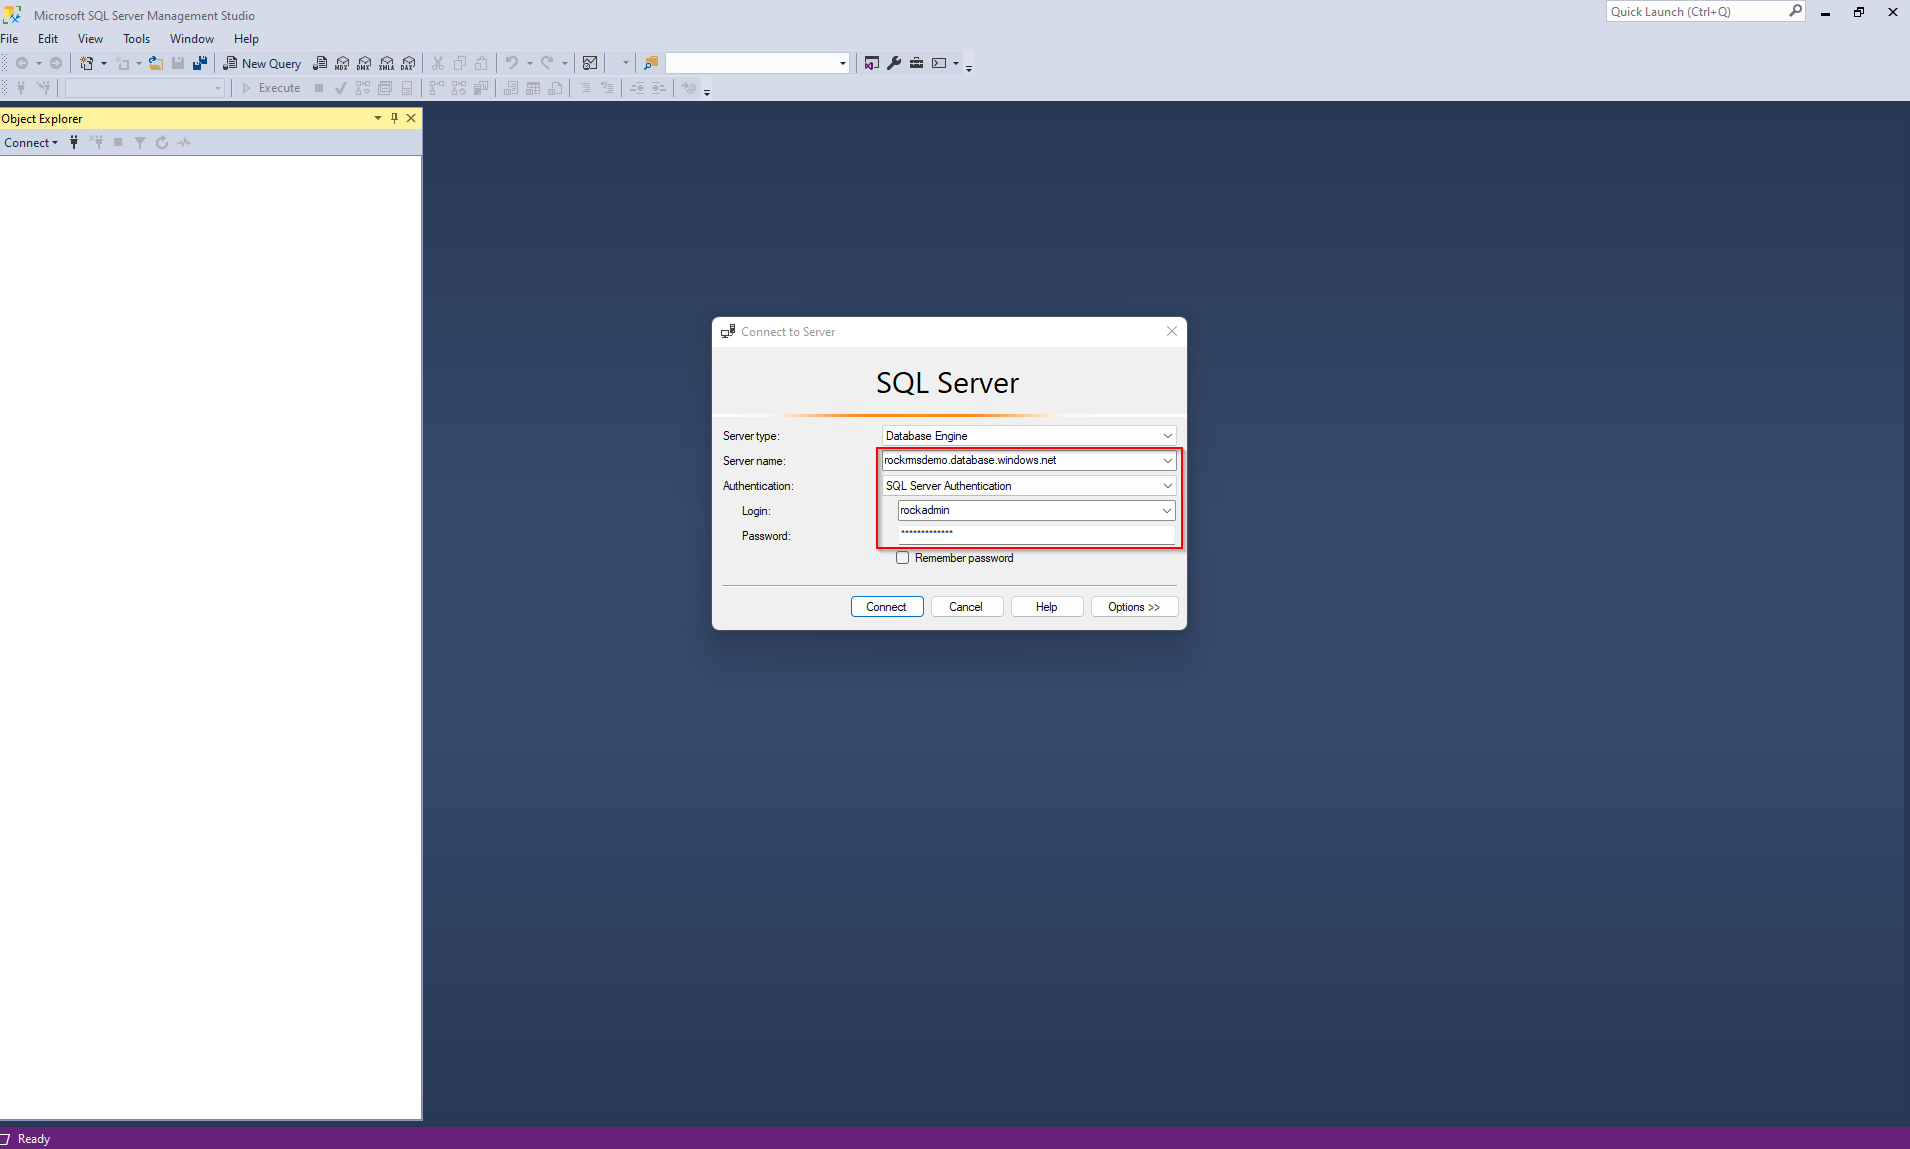
Add a new login for the SQL server by expanding the Security folder, then the Logins folder. Right click on Logins and choose New Login. If you are accustomed to using a locally installed SQL server, you would see a graphical window here to add a new user. This is not the case with Azure SQL servers. Instead, we have a query window. To create the new user, use the following query:
-- add login  to the SQL server

CREATE LOGIN RockRMSDemoUser

WITH PASSWORD='RockRMSDemoPassword1';
Click Execute.
Next we will add that user to the database from the login we just created for the SQL server
-- add user

CREATE USER RockRMSDemoUser

FROM LOGIN RockRMSDemoUser

WITH DEFAULT_SCHEMA=dbo;
Grant user specific permissions to the database. db_datareader, db_datawrite, and db_owner are needed for the upcoming RockRMS installation. Use the query below and click Execute.
ALTER ROLE db_datareader ADD MEMBER RockRMSDemoUser;

ALTER ROLE db_datawriter ADD MEMBER RockRMSDemoUser;

ALTER ROLE db_owner ADD MEMBER RockRMSDemoUser;
Choose the master database from the dropdown menu and run the following commands. This command will add the RockRMSDemoUser to the Master database and grant appropriate db_manager permissions. Without this permission on the master database, the RockRMS installer will not have appropriate permissions to install/configure the DB.
CREATE LOGIN RockRMSDemoUser
WITH PASSWORD='RockRMSDemoPassword1';

-- add user
CREATE USER RockRMSDemoUser
FROM LOGIN RockRMSDemoUser
WITH DEFAULT_SCHEMA=dbo;

-- add user to role(s) in db
ALTER ROLE dbmanager ADD MEMBER RockRMSDemoUser;
ALTER ROLE loginmanager ADD MEMBER RockRMSDemoUser; Installing the latest version of RockRMS is very simple. A zip file of all required files/code is available on the rock website here
From your web server, open a web browser and go to the site above. Click the download button. You will have to login to your Rock account before downloading.
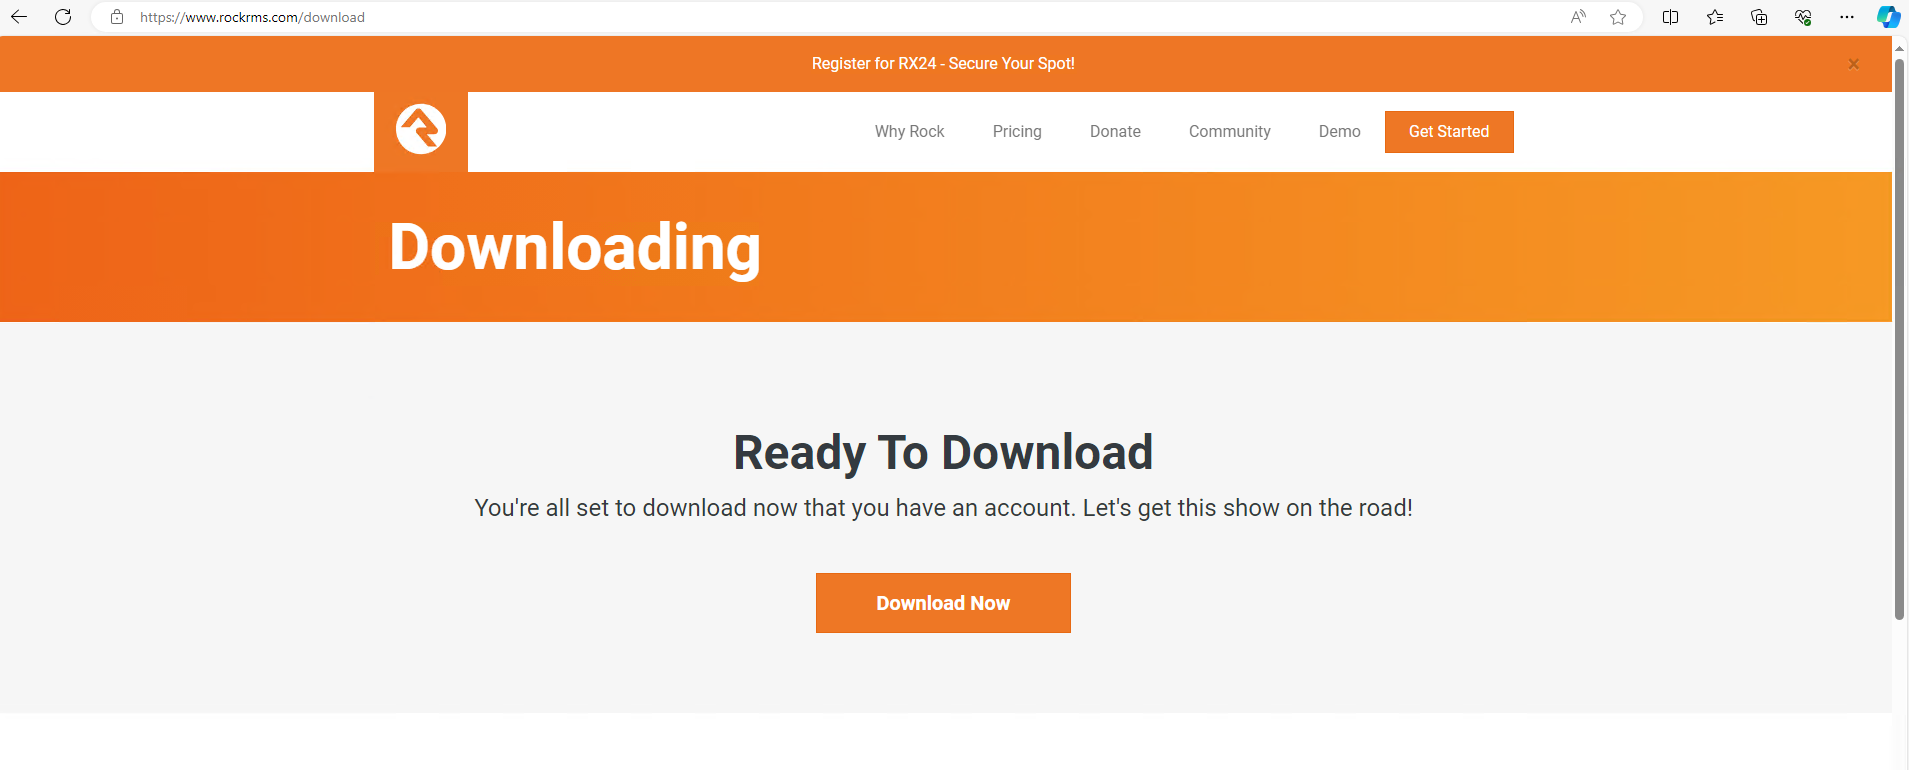
You will have a single zip file called "rockrms-install".
Click Get Started
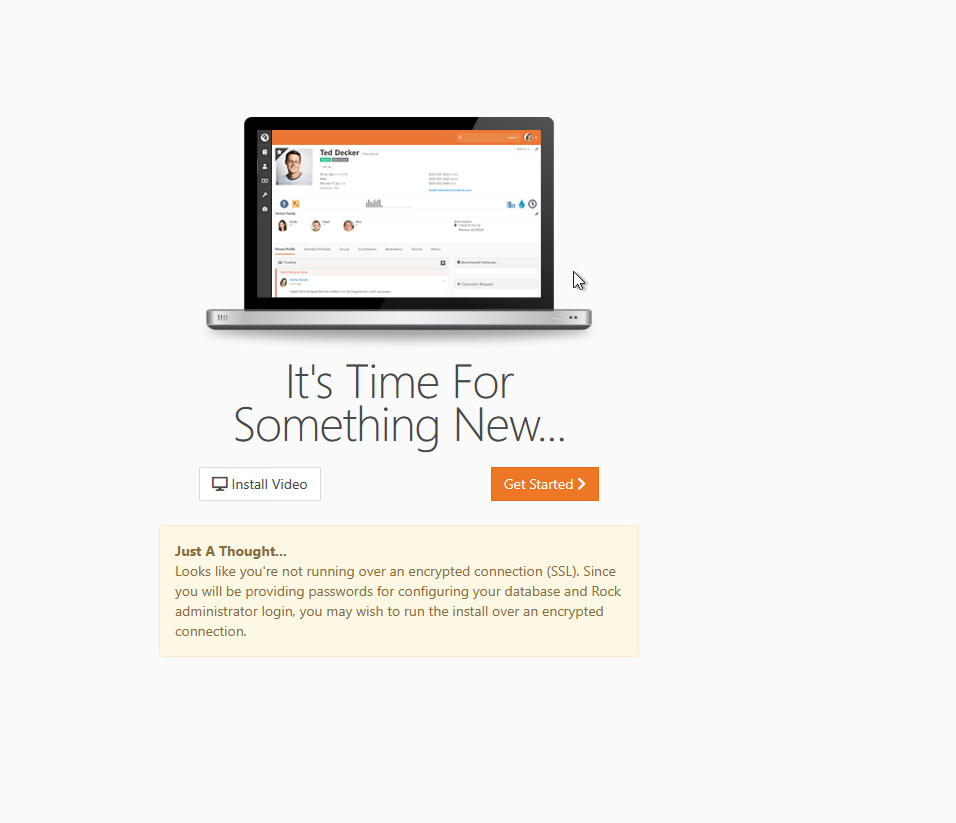
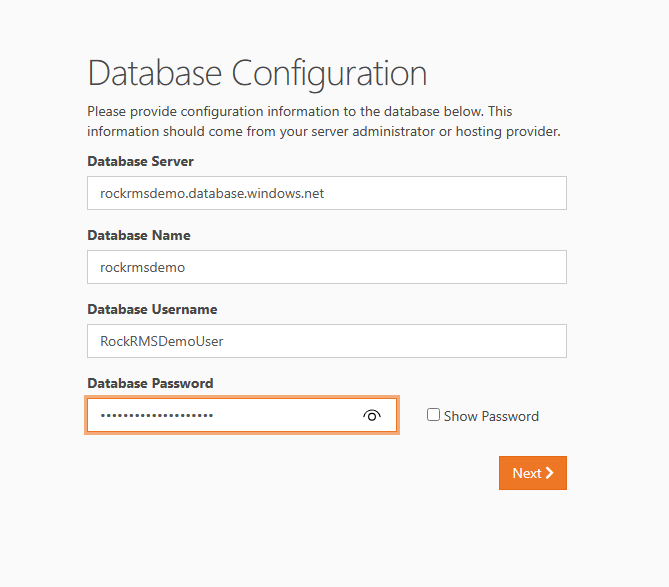
Fill in the name of the Database Server, Database Name, Database Username and Database password that was setup earlier.
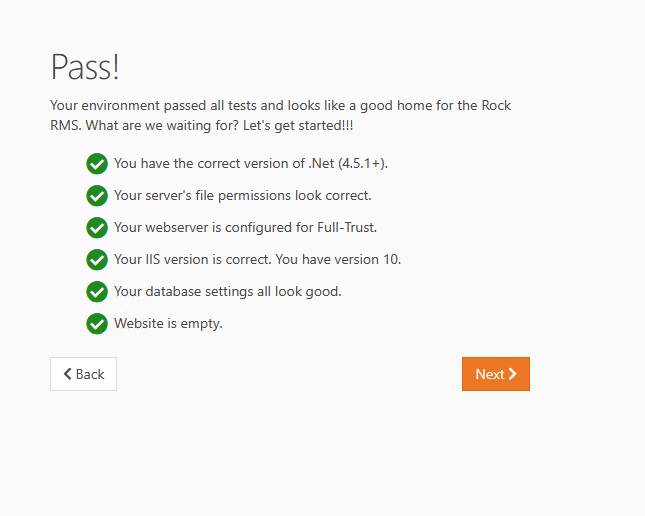
If all checks pass, you should see this:
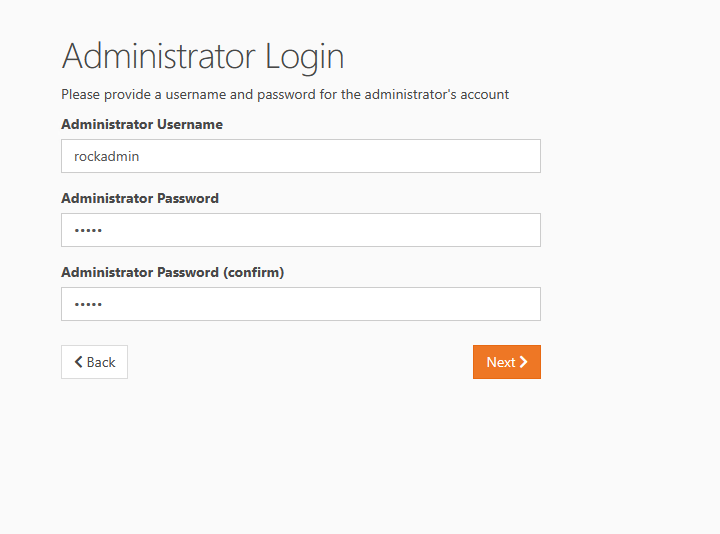
Set your admin username and password for the Rock Install
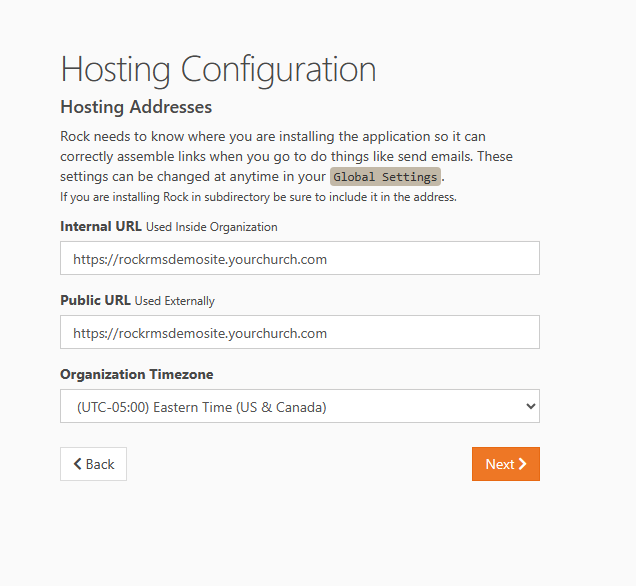
Next enter your Church information and click install.
The installation should now begin which will download the necessary files, create the database tables, etc.
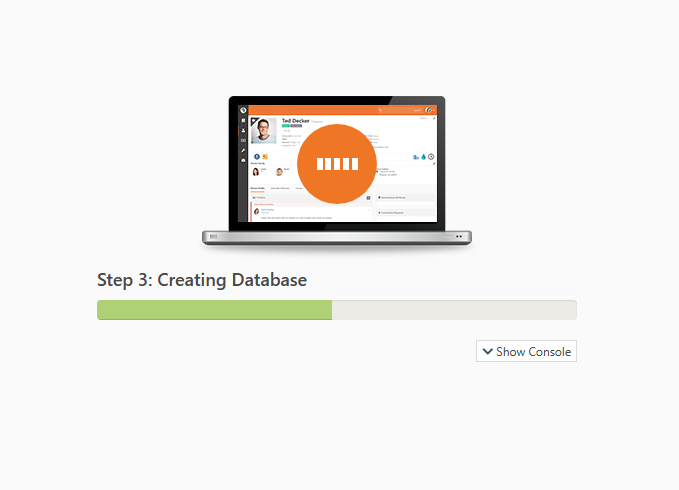
Installation completed! Click the Flip the Switch button. You can now login to the website using the username/password that you set above.
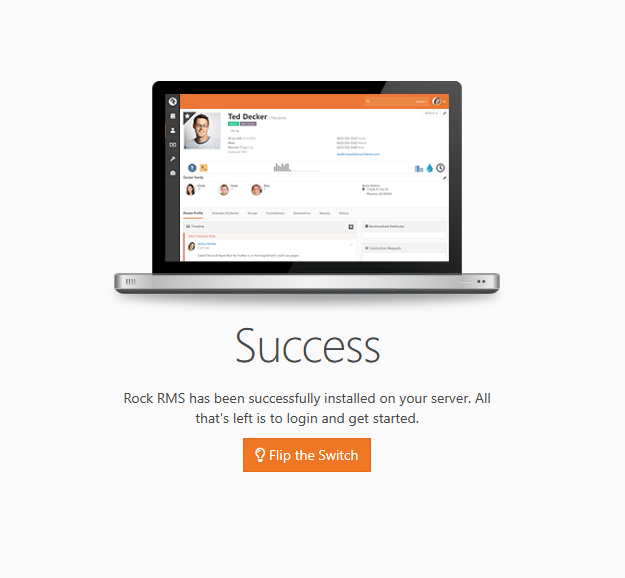
You should now be able to browse to the URL you setup above and start configuring RockRMS
