When moving your mouse around a meeting you will notice a toolbar appear at the bottom of the page. This toolbar contains all of the options you have during the meeting.

You can:

You can do this by clicking the microphone icon. You can also click on the up arrow next to the microphone to select which microphone and speaker you would like the meeting to use. You can also press and hold the spacebar to speak temporarily (while the spacebar is pressed you are un muted; when it is unpressed you are muted again).
You can do this by clicking the video camera icon. You can also click on the up arrow next to the camera to see a preview of what your video will look like if you turn it on.

You can do this by clicking on the screen arrow icon. When you do, you will see a window which will allow you to select the screen, window, or tab you would like to share in the meeting. There is also a checkbox called “Share system audio” that you can check to share what you hear from your computer in addition to sharing the screen.


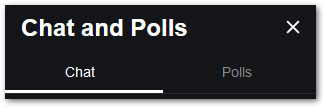
You can do this by clicking on the speech bubble button. When you do, a sidebar will open on the left side of the screen. This sidebar has two tabs: Chat and Polls. If there is a blue circled number next to this icon, you have that many unread messages or polls.
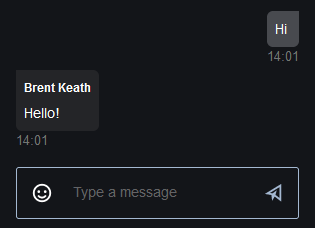
In the chat tab, you will see any messages sent by other meeting participants and can send emojis and type messages to share with the other meeting participants
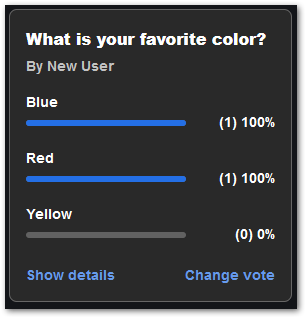
In the Polls tab you will see all polls submitted by other users. You can vote in other participants polls and/or click the “Create a poll” button at the bottom of the screen to ask a question of your own to other participants. Once you submit your vote for a poll, you will be shown the results of the poll. You can then change your vote or view the details of the poll (who voted for each option).
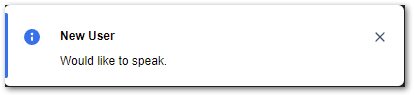
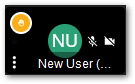
When you click the hand icon, all other users are informed that you would like to speak and a hand icon is added to your thumbnail until you “lower your hand” (which you can do by clicking on the button again.

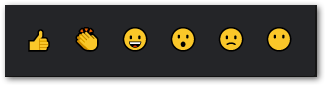
When you click on the up arrow it gives you six reactions to choose from. When you select a reaction, it will show on other participants’ screens and in chat. Hovering over each reaction will also show you the hotkeys for each of them.

You can do this by clicking the people icon. Doing so will open a sidebar on the right side of the screen. This sidebar includes a searchable list of participants.
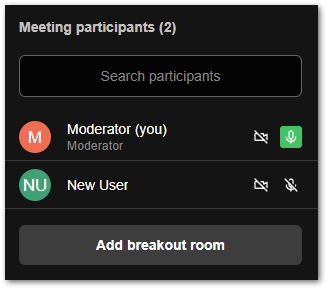
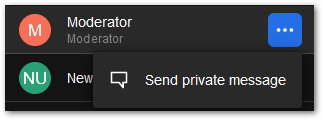
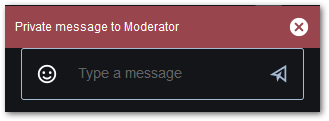
If you are a normal participant, hovering your mouse over a participant’s name, makes a button with three dots appear. Clicking on this button gives you the option to send the person a private message. Clicking this button will open the chat sidebar and let you send messages directly to another user, which only they can see.
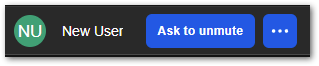
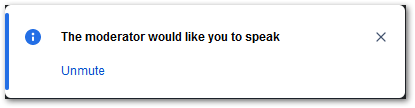
If you are a moderator, you also have the option to ask a participant to unmute themselves. Clicking this button sends them a message letting them know that you would like them to unmute their microphone:
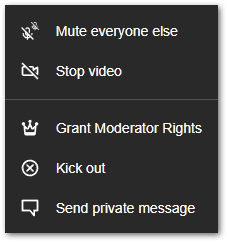
The button with three dots also gives moderators four extra options:

You can do this by clicking on the icon of the squares in the toolbar. When tile view is toggled on, you are able to see all participants in the center of the screen (either their videos if their camera is on, or their initials if their video is not on). When tile view is toggled off, you will only see one participant at a time in the center, with all other participants listed on the right side of the screen in thumbnails. If you click on a user’s thumbnail you will see them in the center of the screen.

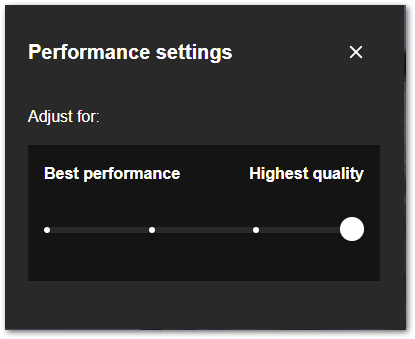
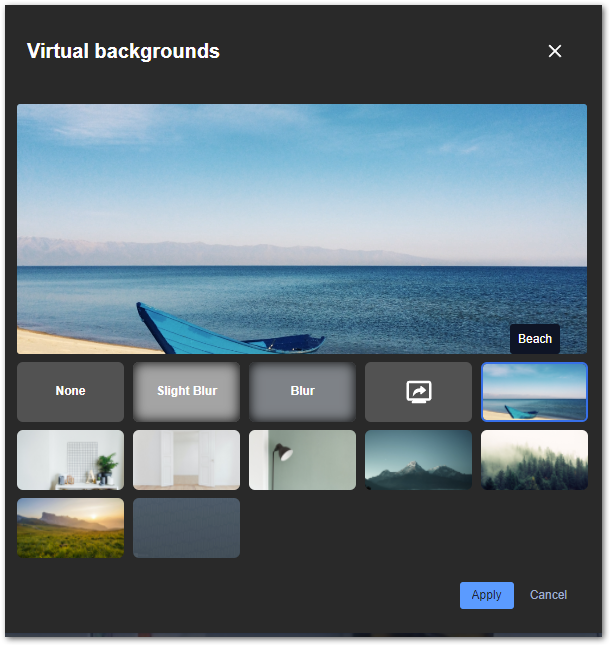
Clicking the button with the three dots opens a menu with more actions you can perform in the meeting. The 9 actions are: